The Grand Campaign kicks off with a pre-determined battle: The 2nd Fords of Isen!
The Story Up To Now
Prince Theodred, heir to Theoden, King of Rohan, has bravely held off a sneak attack by the forces of Isengard at the First Battle of the Fords of Isen at great cost - including his own life. Laying among his men on the banks of the river, the first victim of Saruman's treachery no longer stands between the people of the Westfold and the hordes of Isengard, as the key strategic river crossing stands undefended.
Grimbold of Grimslade & Elhelm, brave captains of Rohan, arrive to reinforce their Prince, only to find he has already fallen. Waiting for them across the fords is a the fearsome Army of Dunland, supported by a raiding band of Uruk-hai set forth from the pits of Orthanc to sack the lands of Rohan.
The Forces
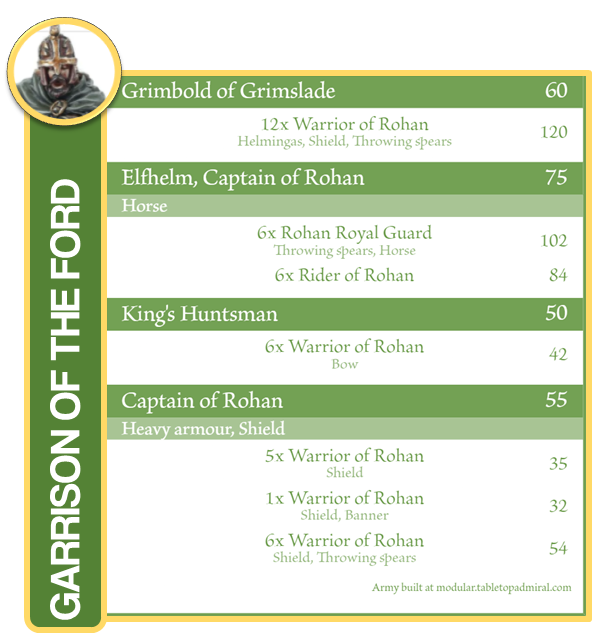
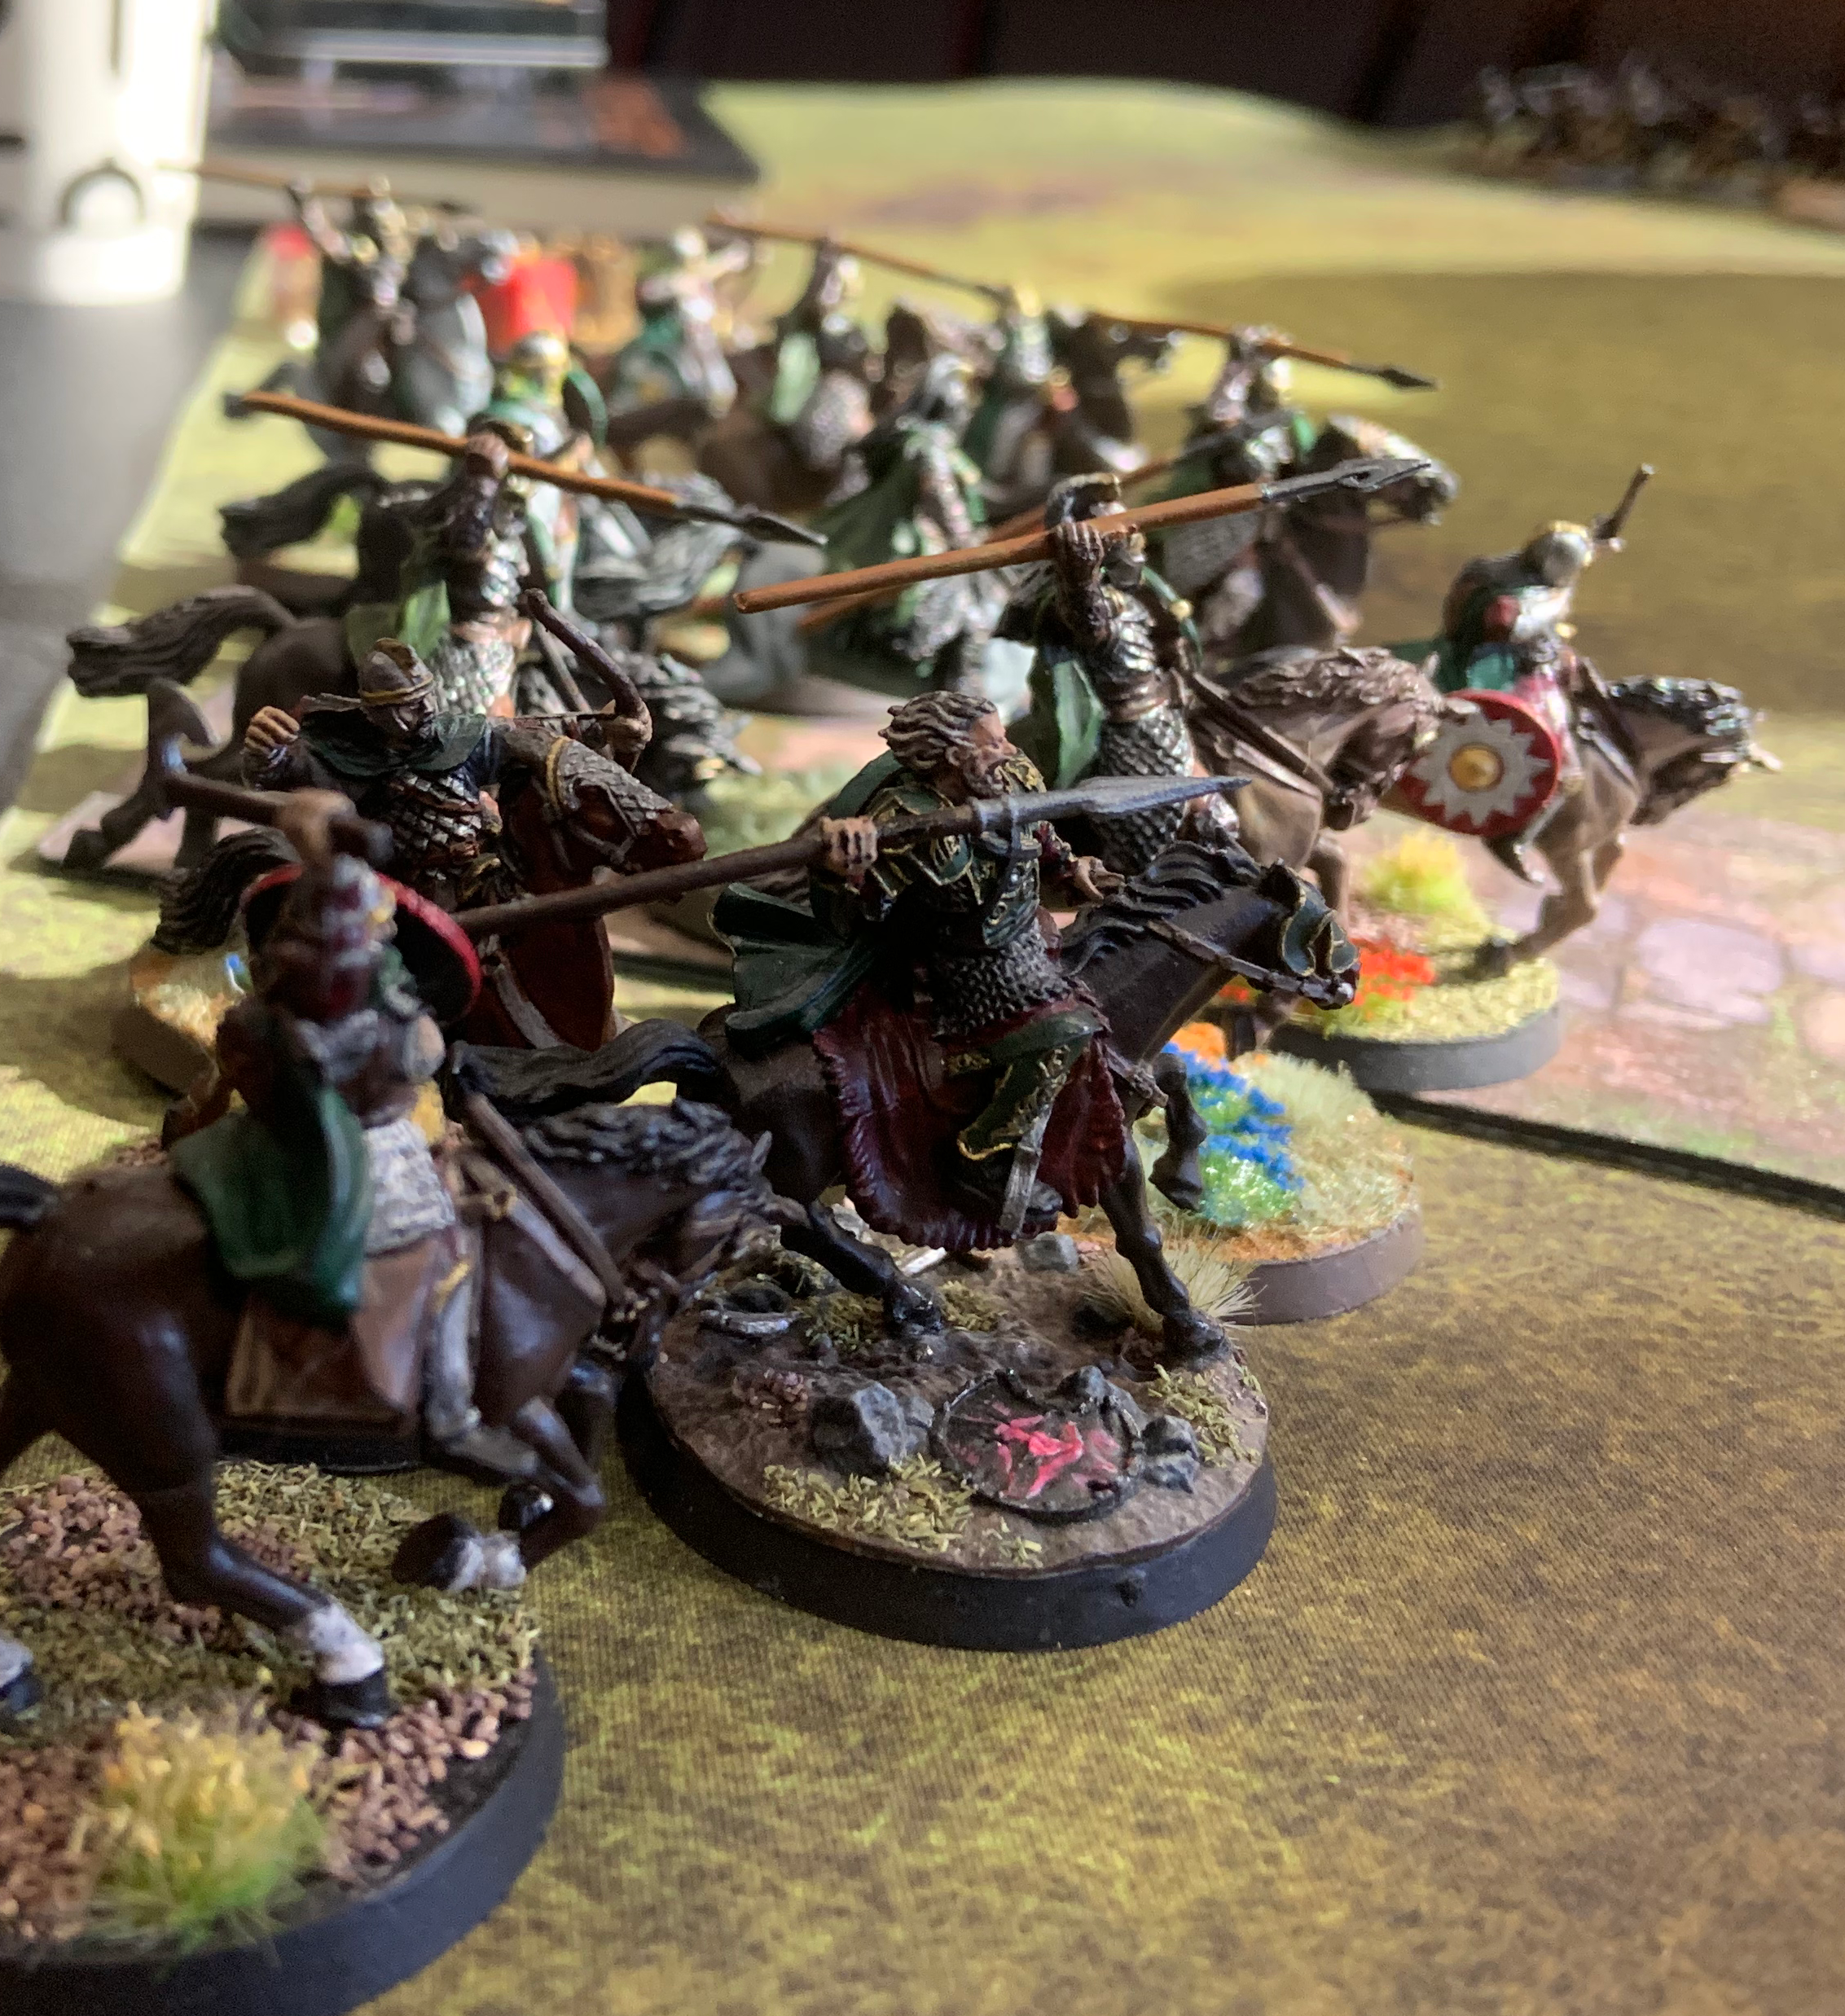
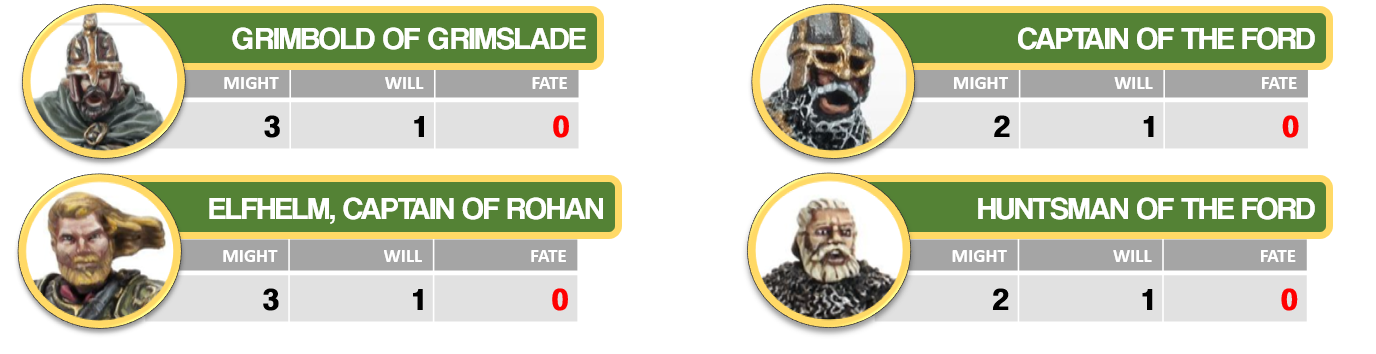
The Forces of Good have only one army involved in the battle, the Garrison of the Fords. Led by Grimbold of Grimslade, a Captain of Rohan, and a King's Huntsman, this force is comprised primarily of footmen with only a small cavalry contingent led by Elfhlem, Captain of Rohan in support.
The Forces of Evil have amassed two army groups to the east of the river hoping to overrun Grimbold's forces and break the first line of defense into Rohan.
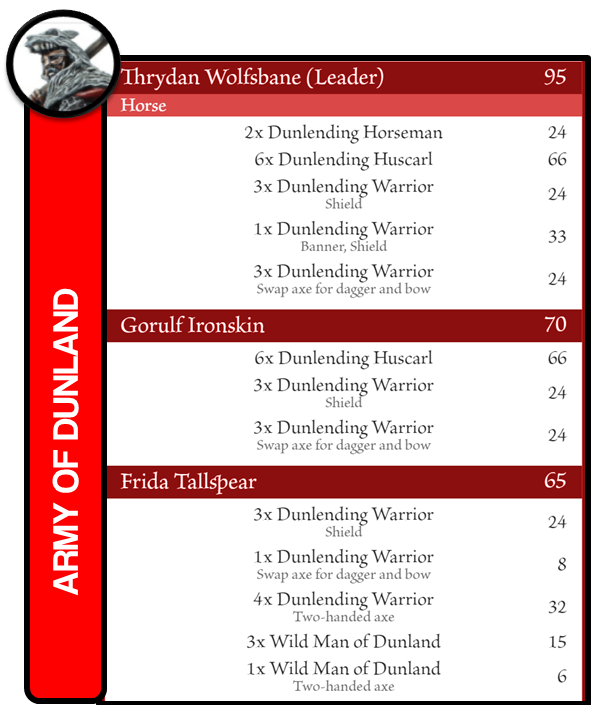
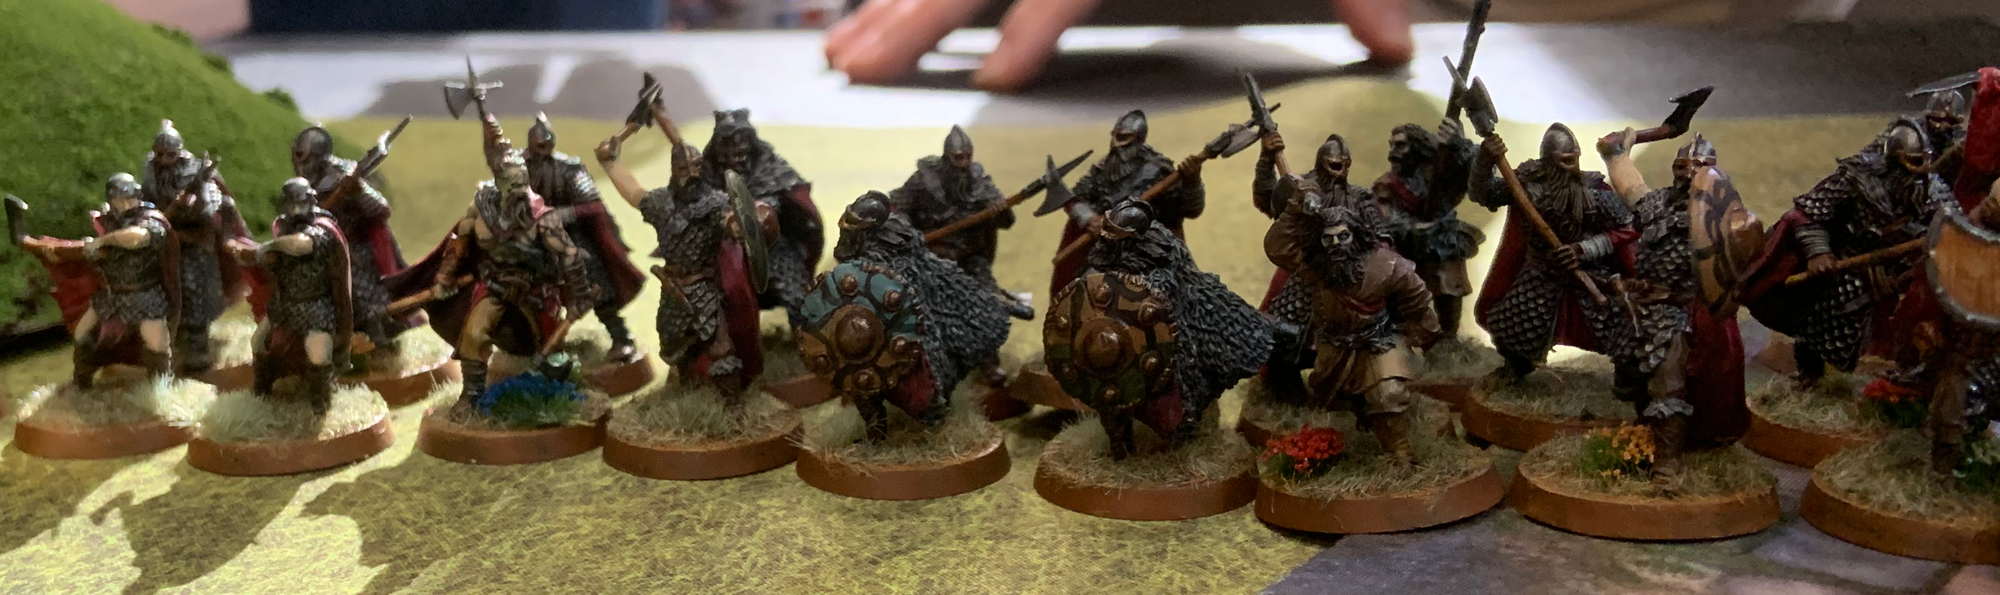
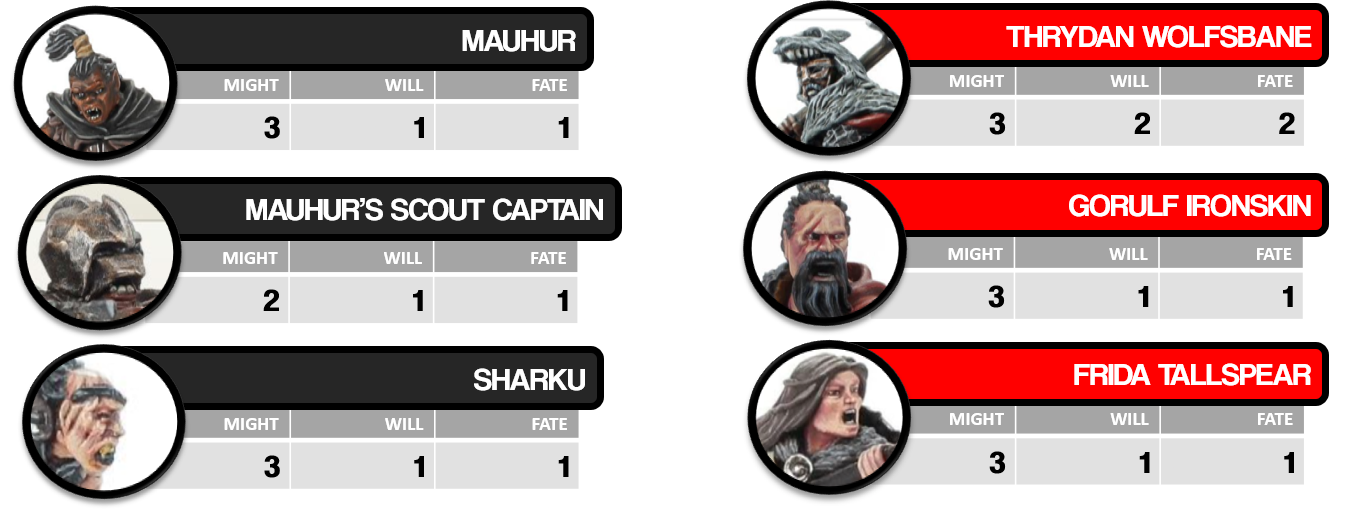
Thrydan Wolfsbane leads forth the Army of Dunland, with Frida Tallspear and Gorulf Ironskin in support.
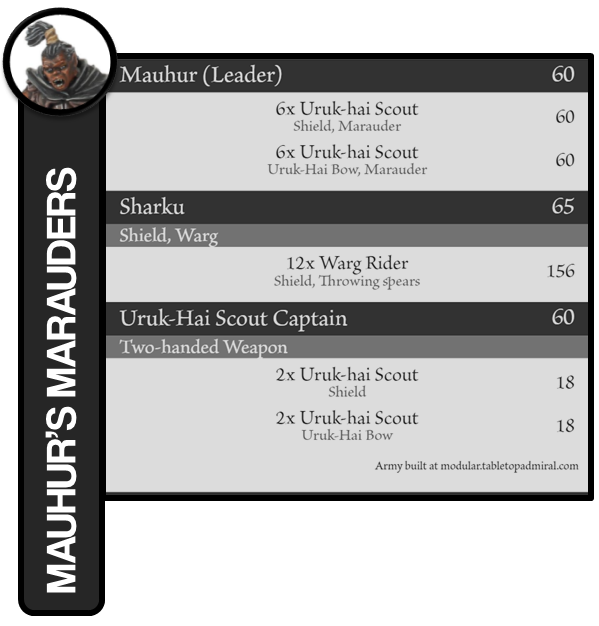
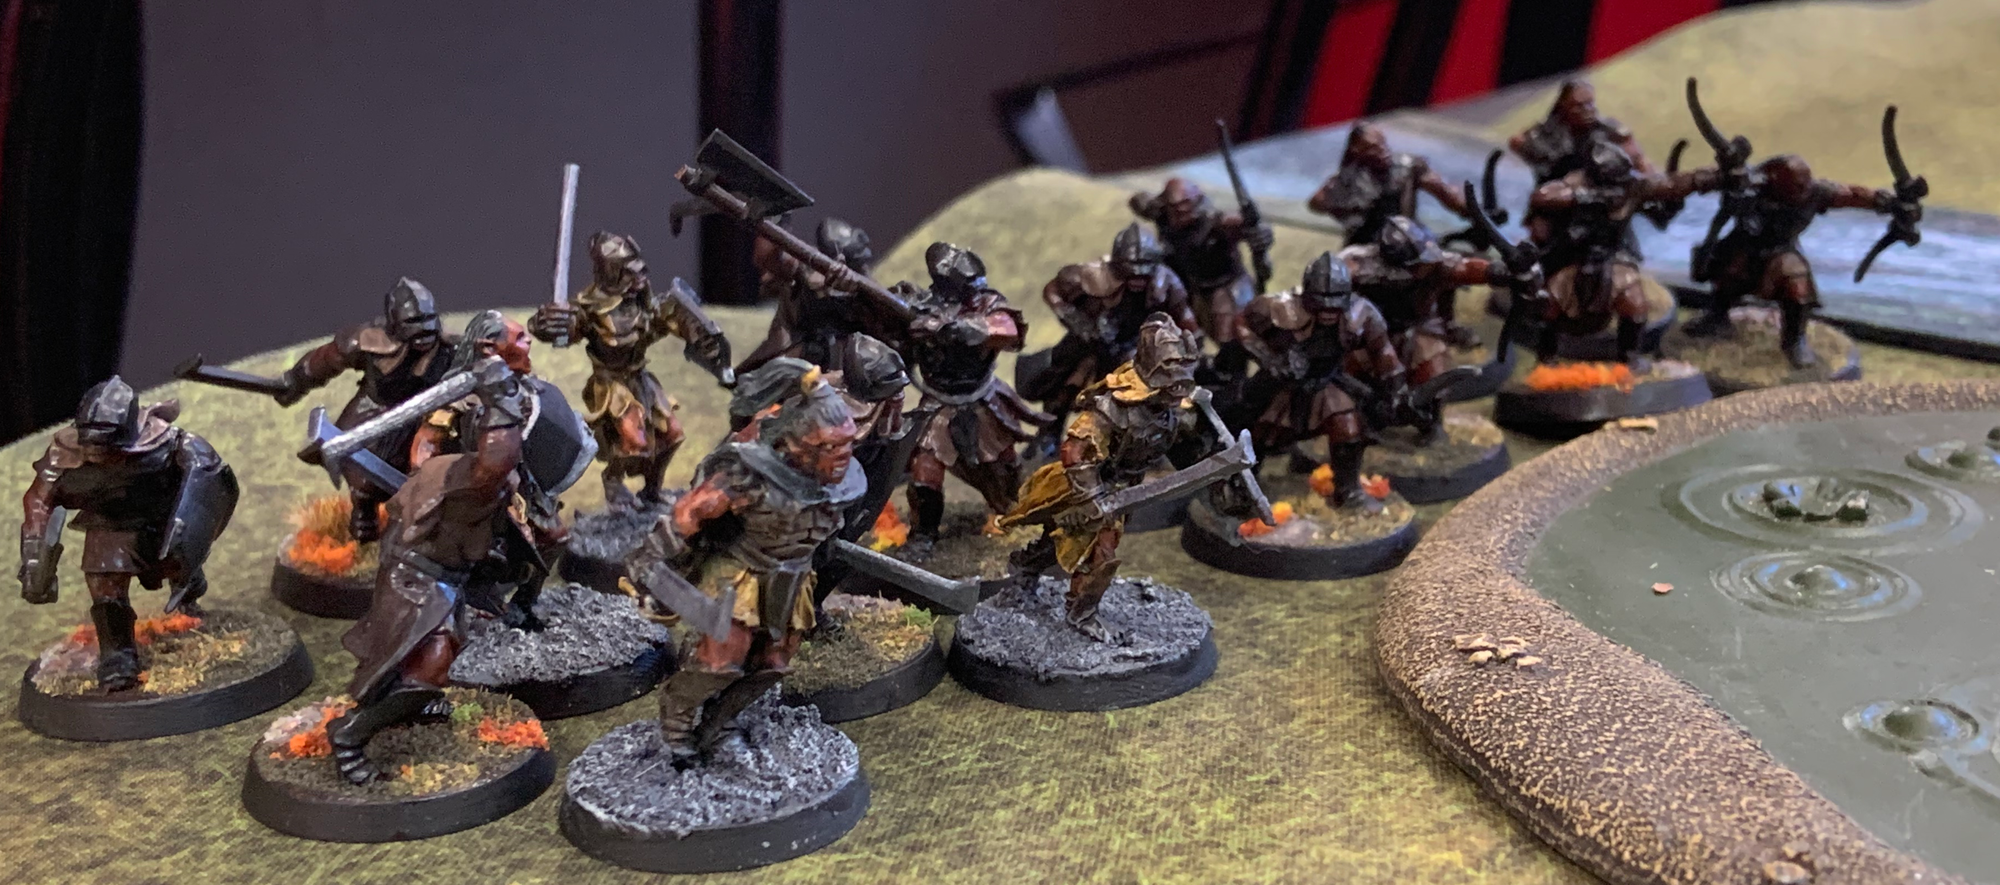
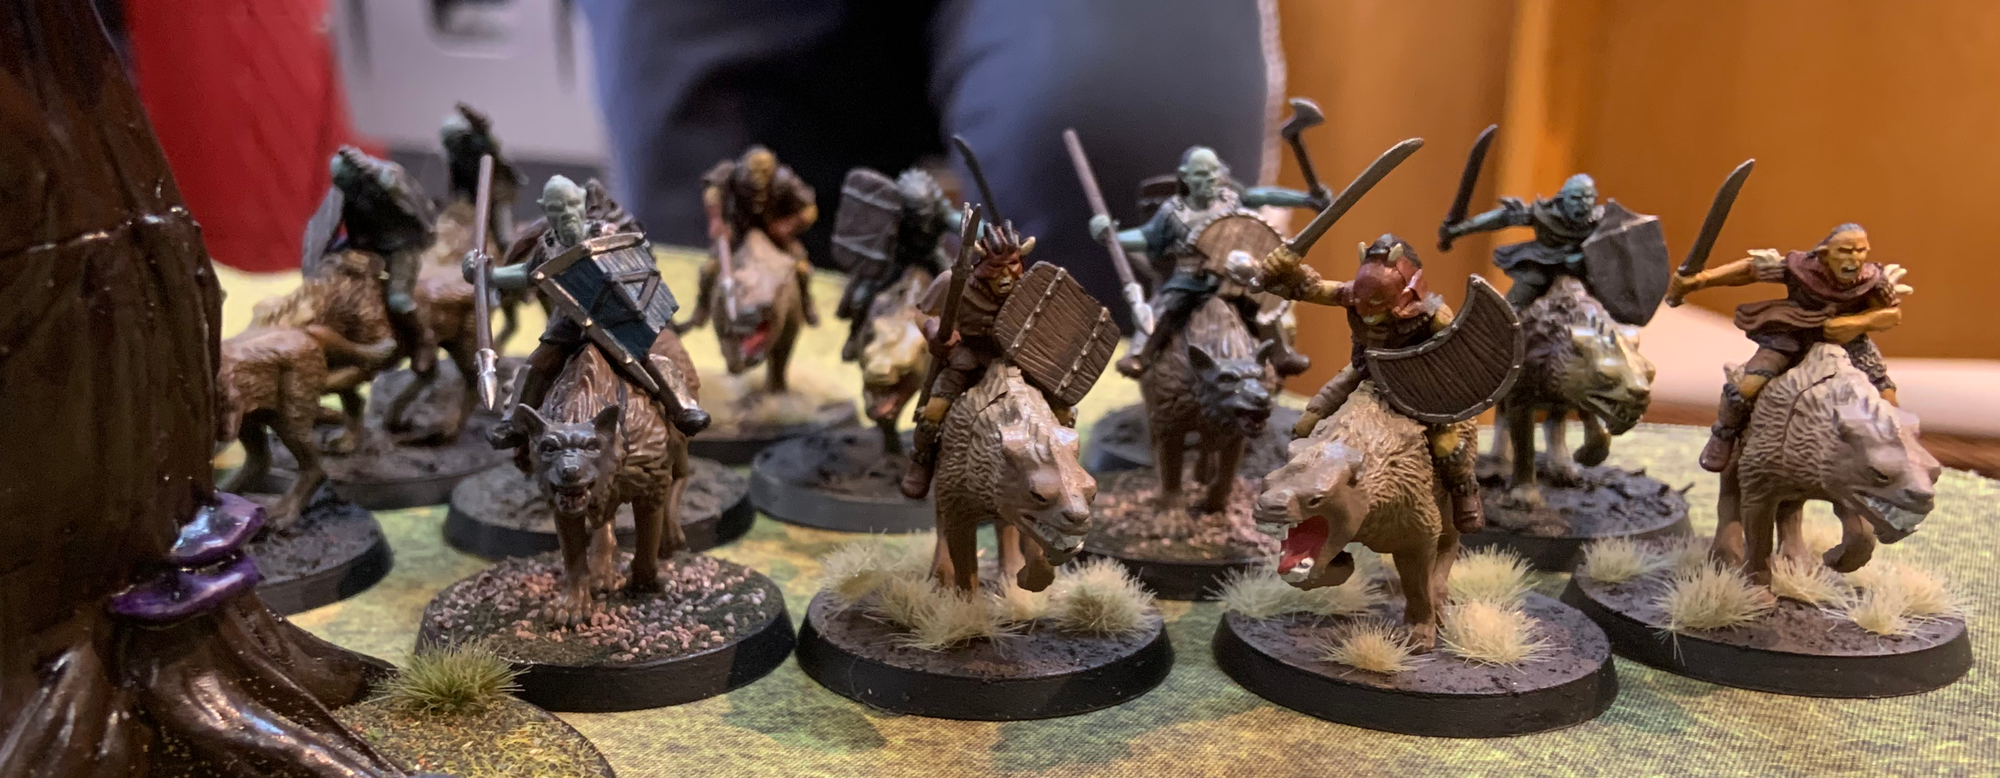
From Isengard comes Mauhur's Marauders, a fleet-footed band of Uurk-hai Scouts led by Mauhur and an Uurk Scout Captain. Supporting Mauhur's foot troops is a pack of Warg Riders led by Sharku.
On paper, the forces on each side heavily favor the Forces of Evil. Outnumbering the men of Rohan nearly 2-1 and holding a 400 point advantage, Grimbold's army will be up against the odds to survive the battle.
The Scenario
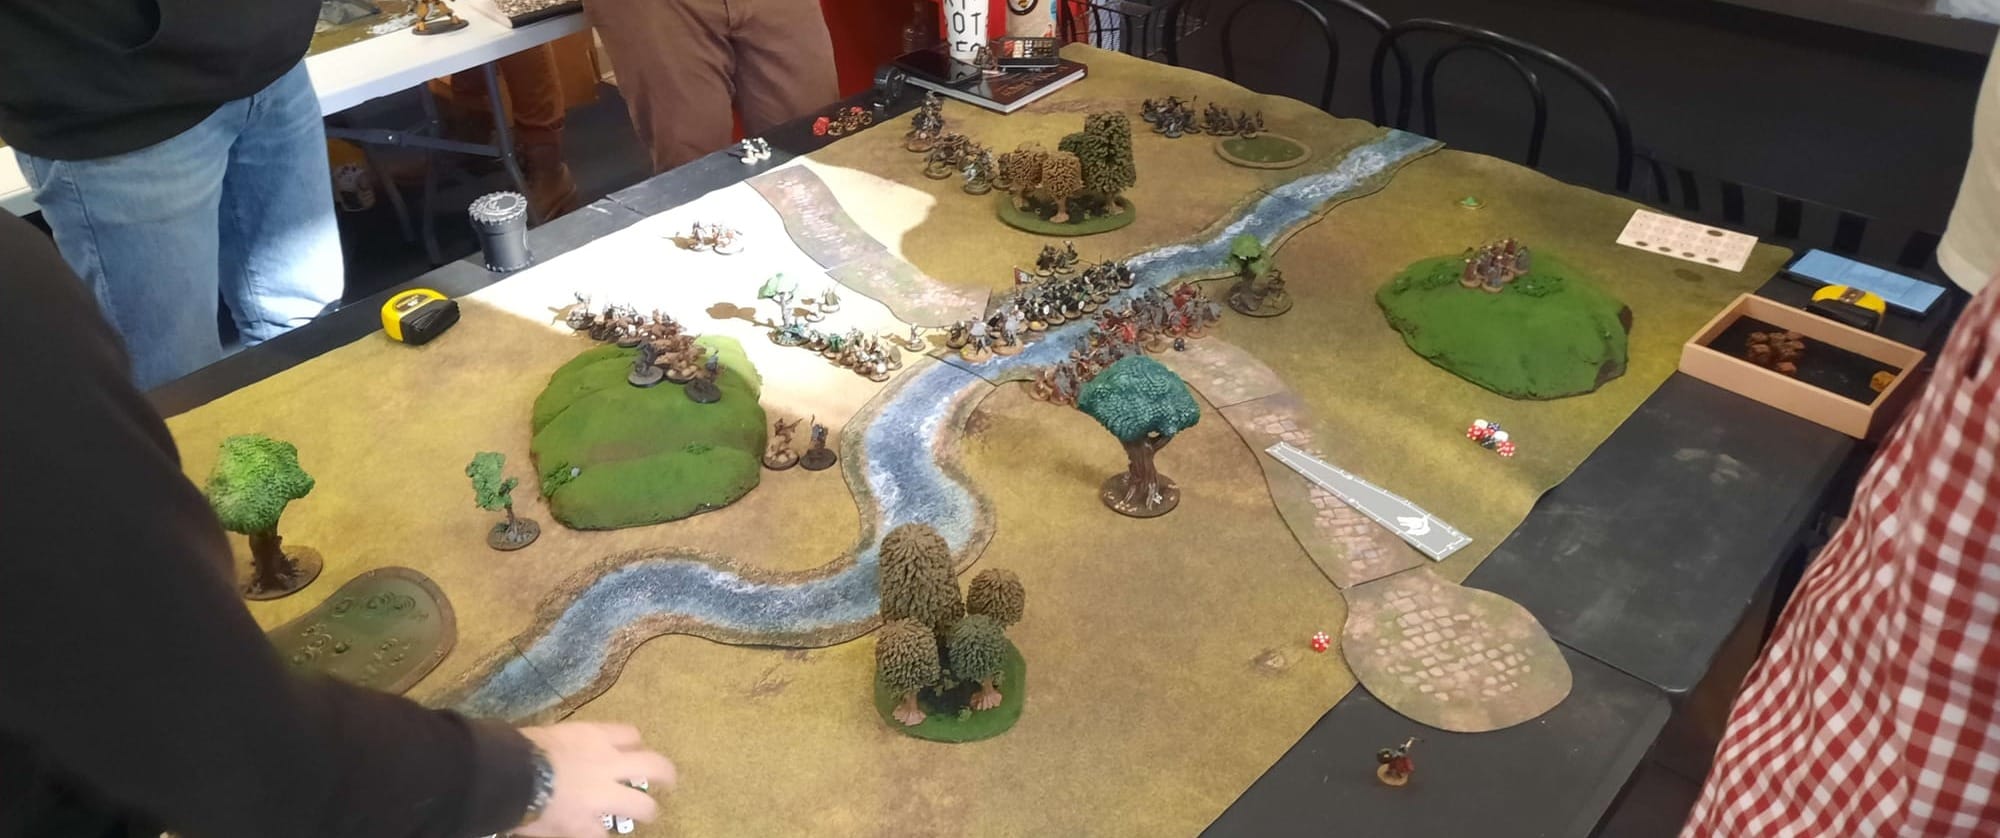
For the inaugural battle the Campaign, we used the scenario, layout, and objectives from the Second Battles of the Fords of Isen scenario in GW's Rohan at War.
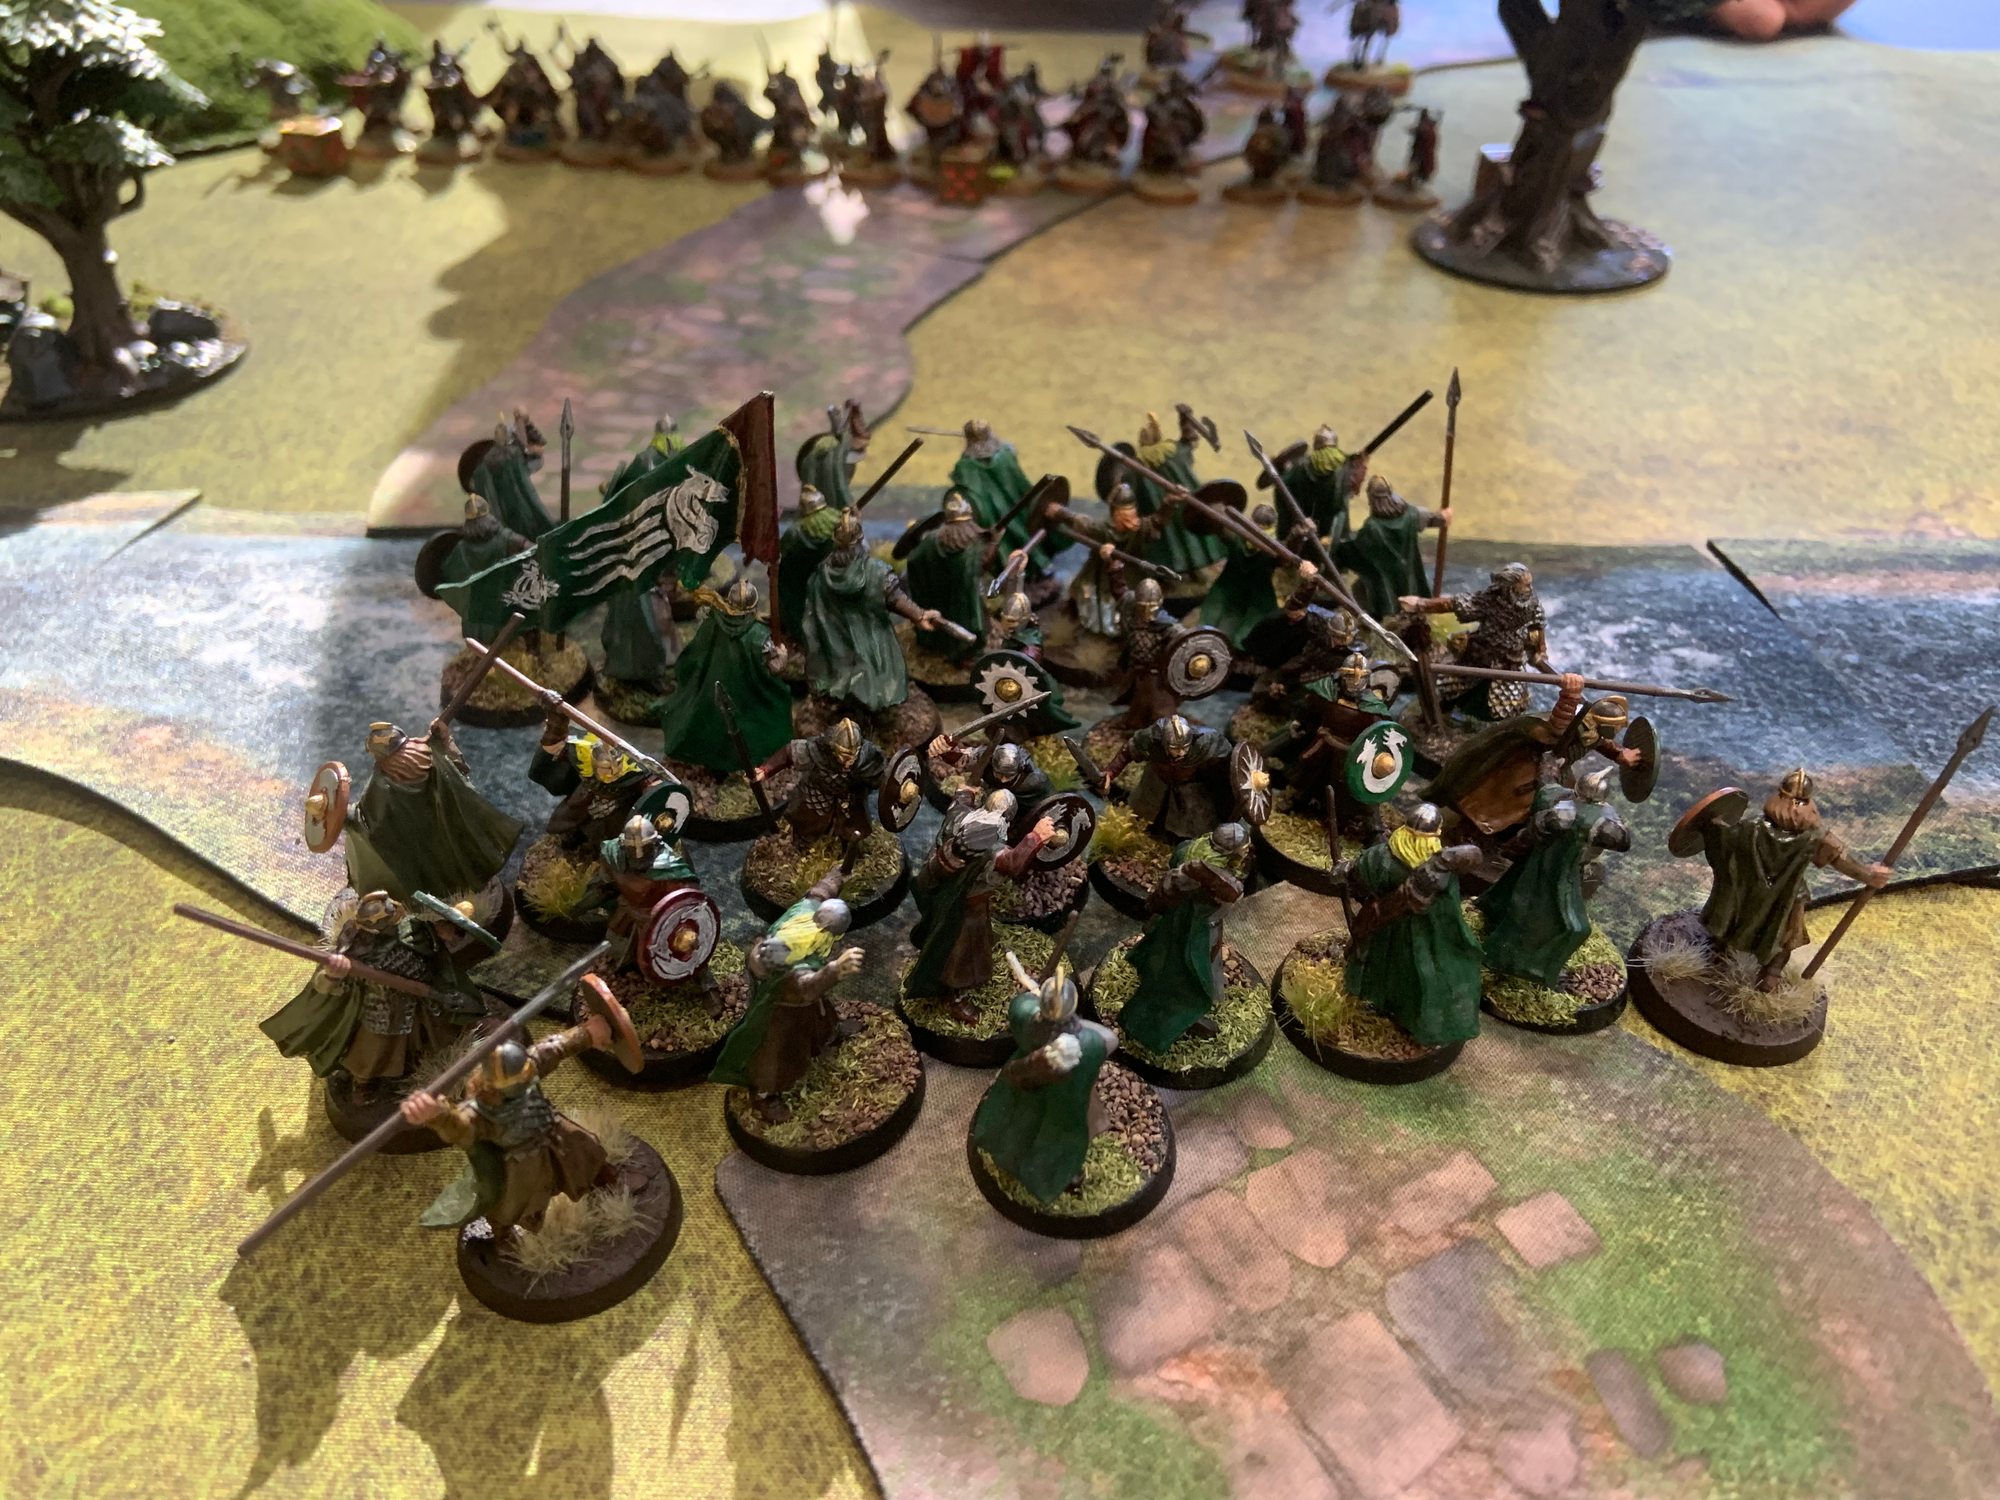
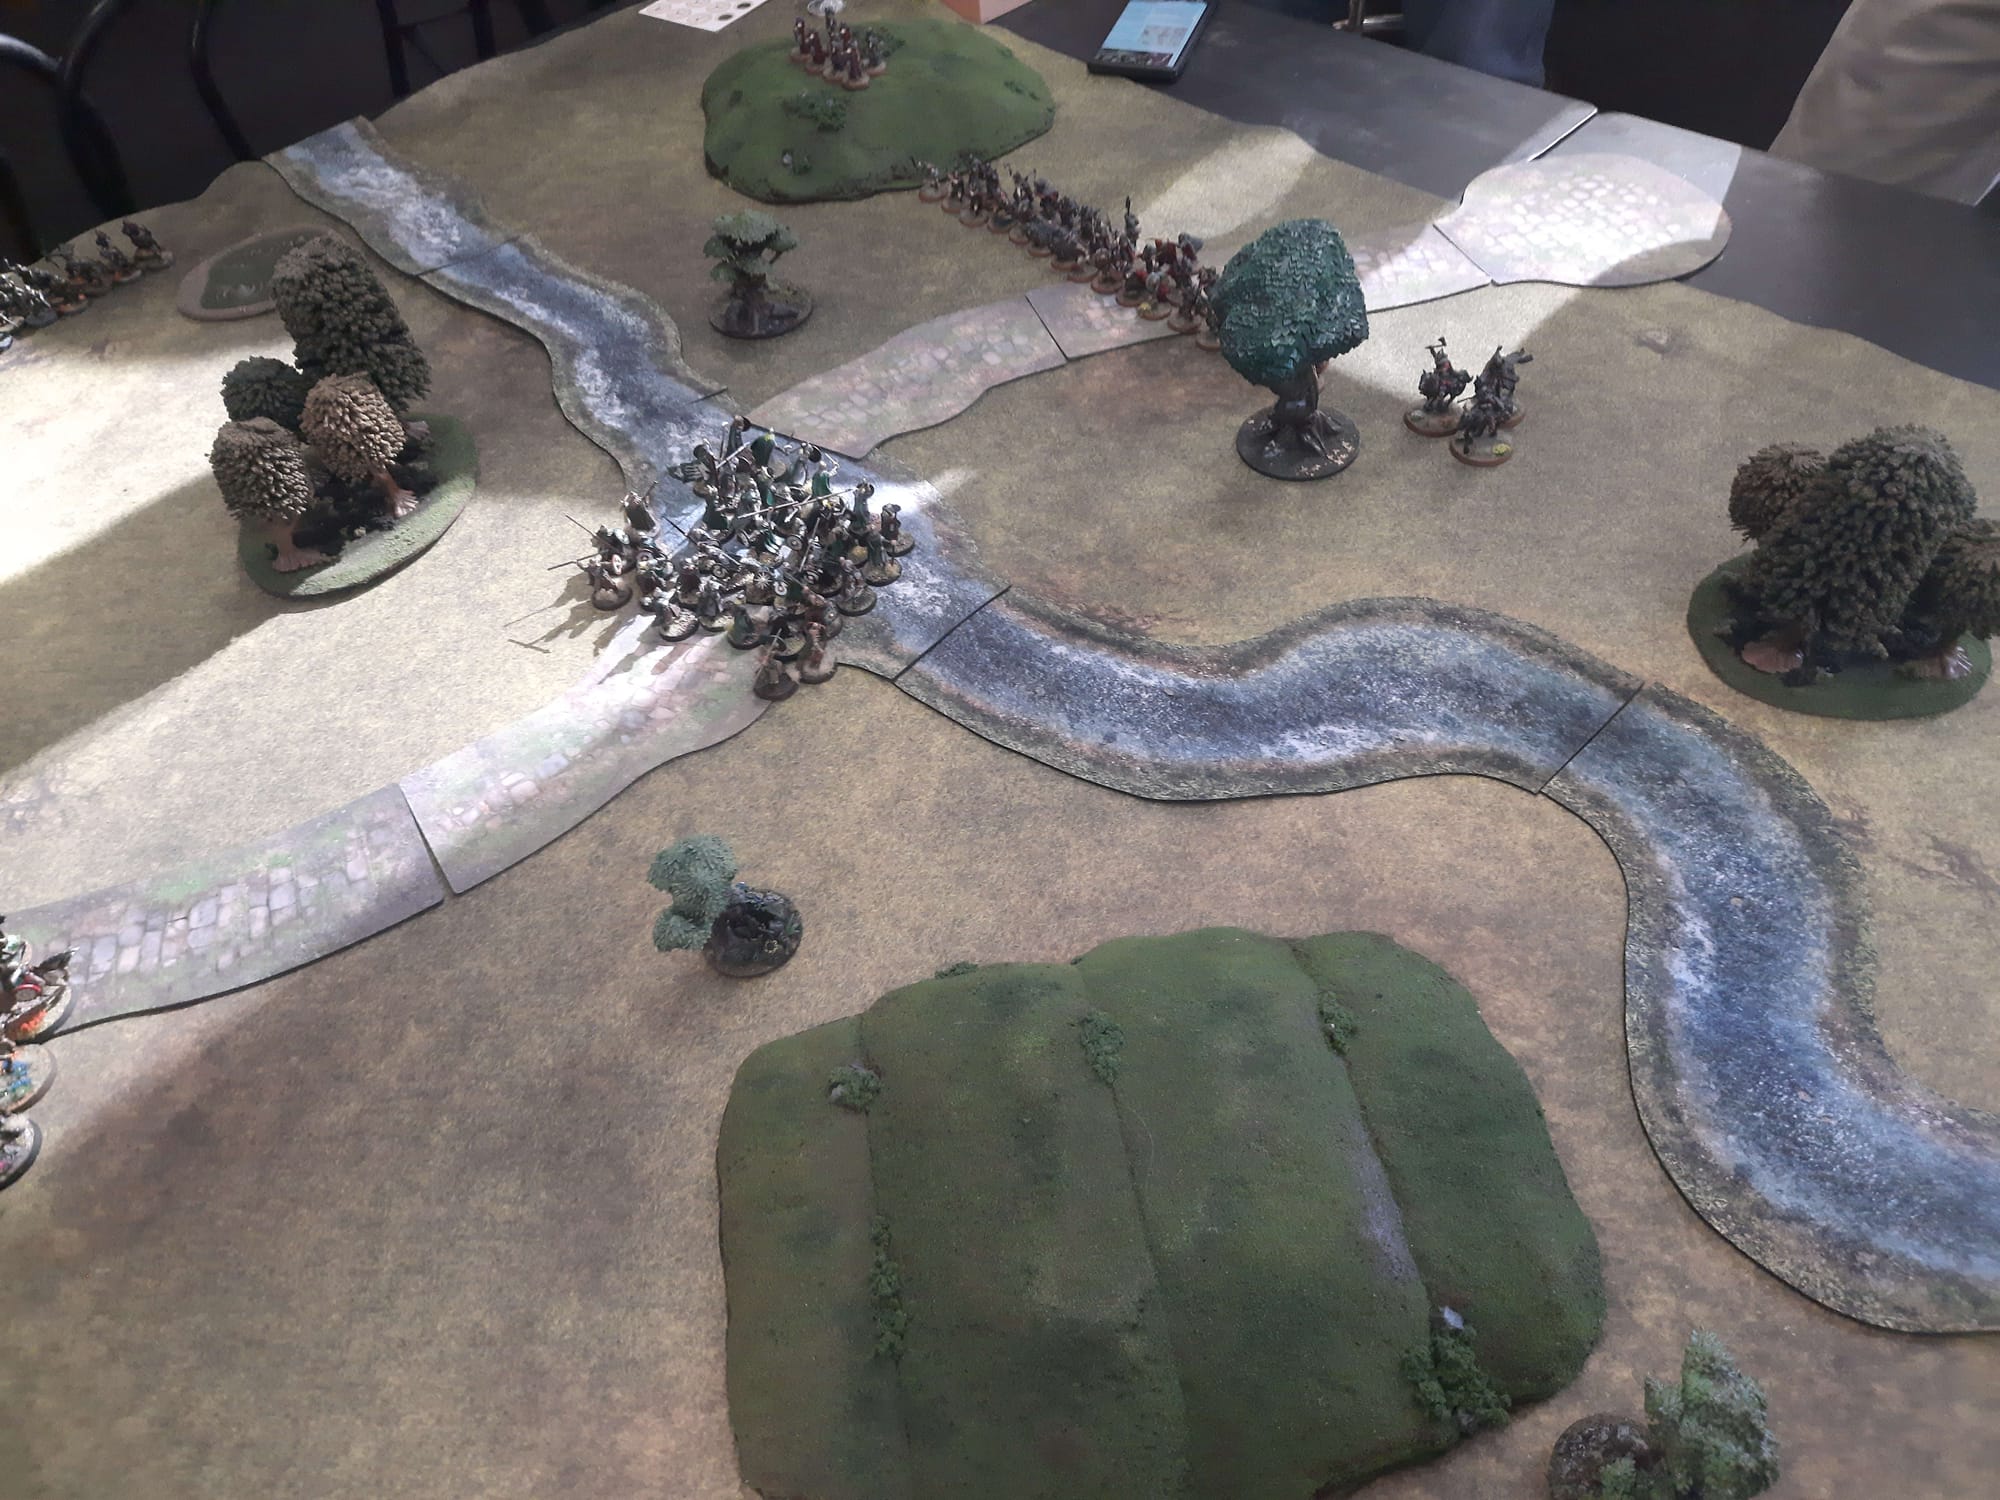
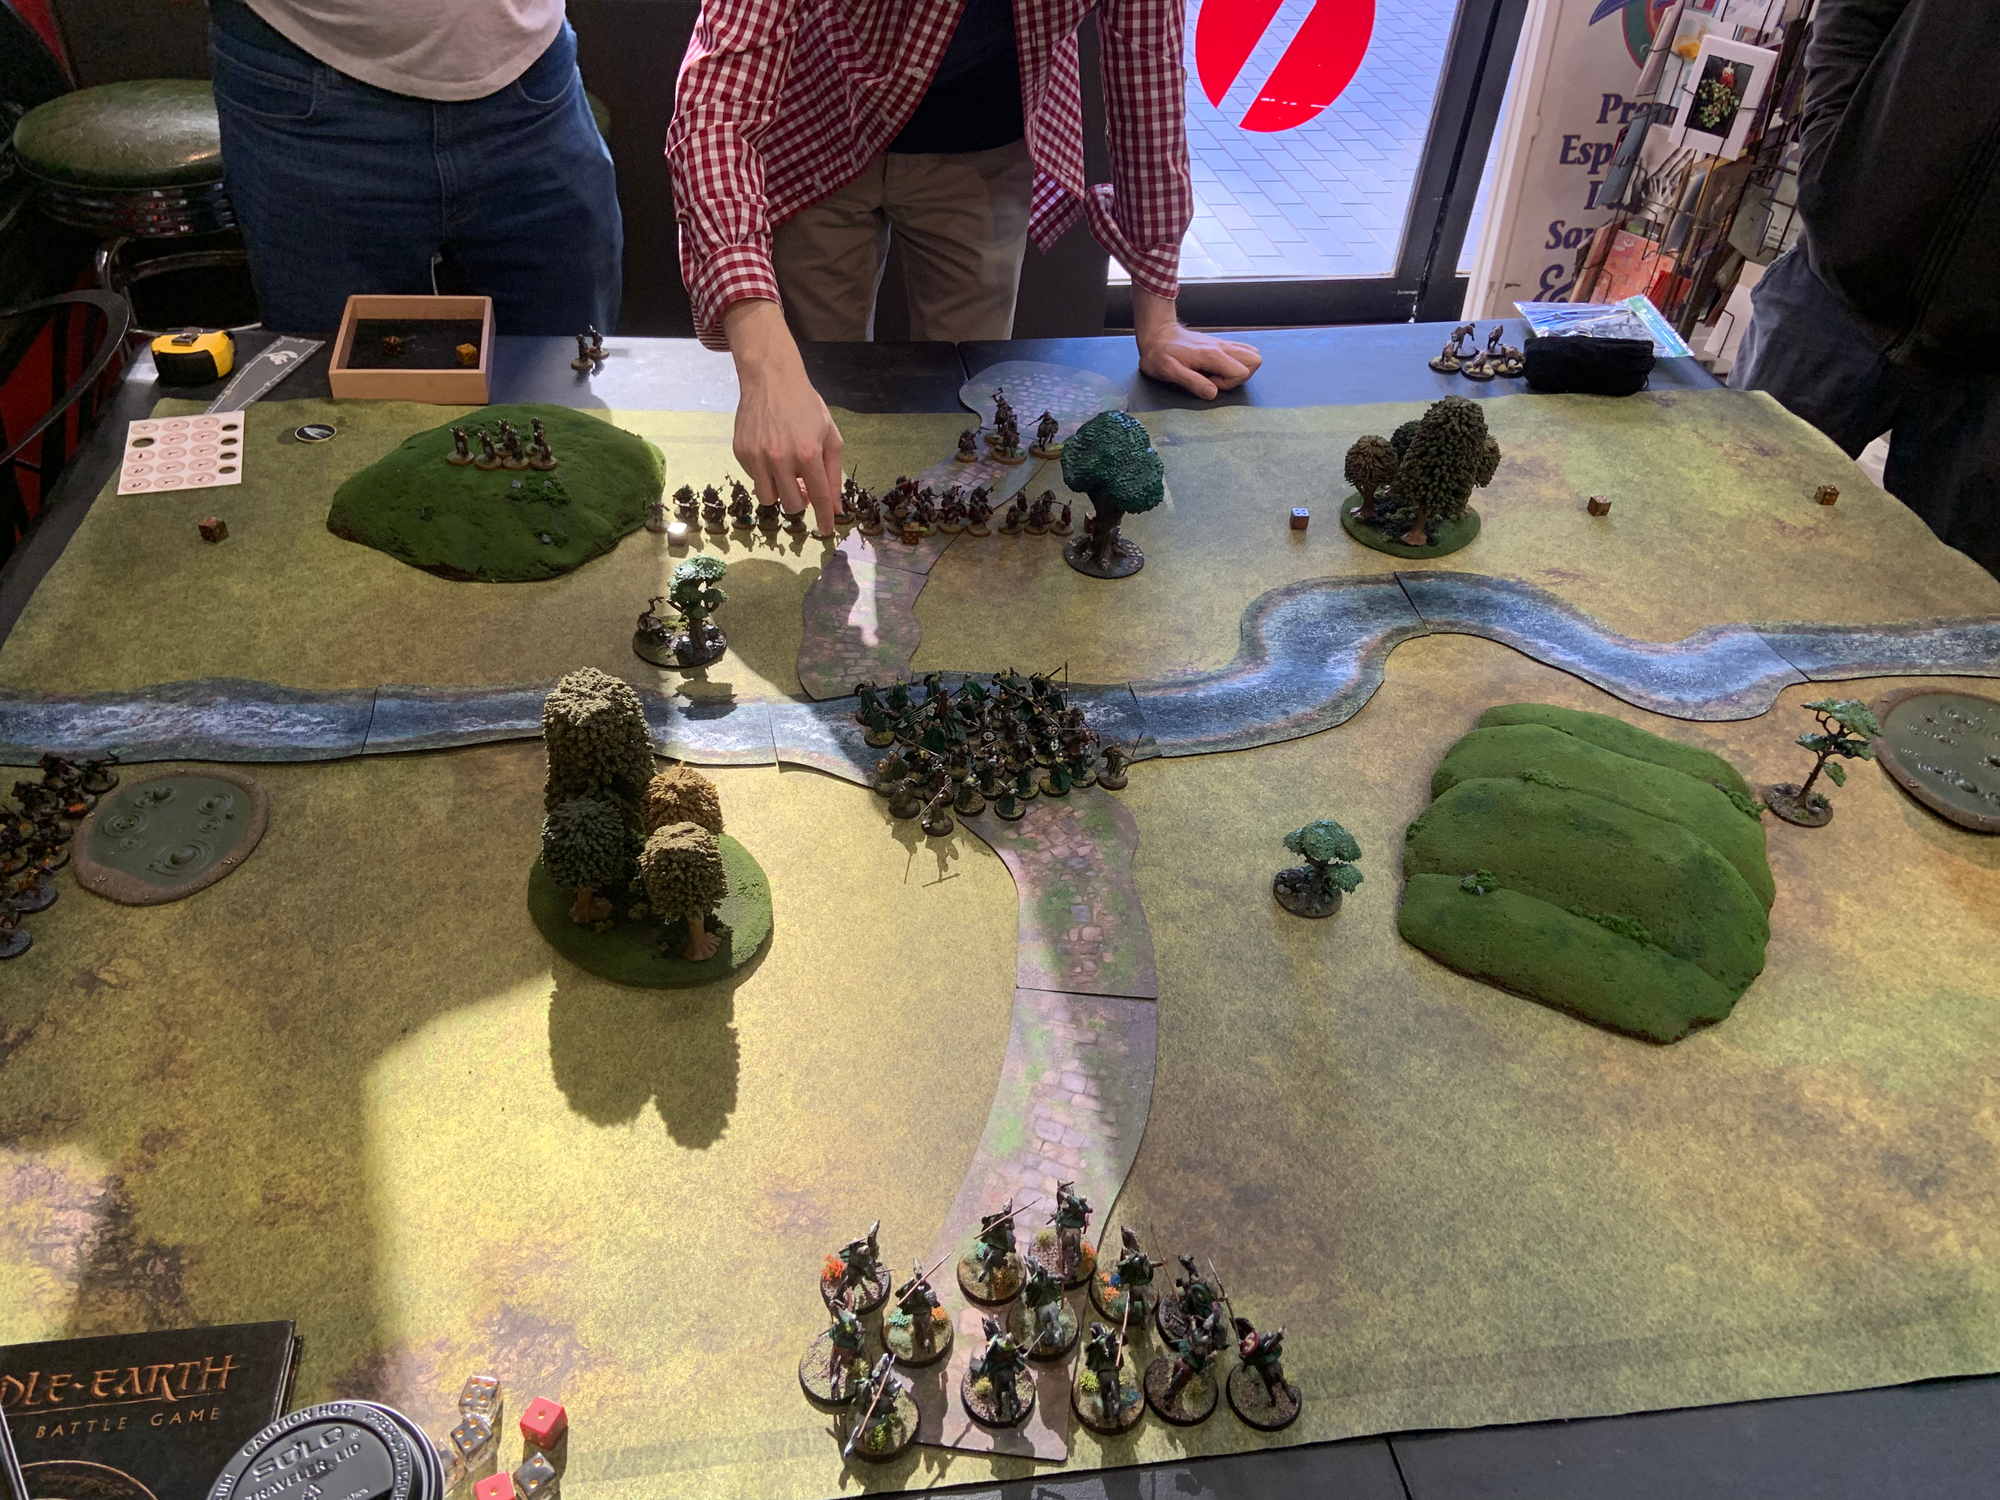
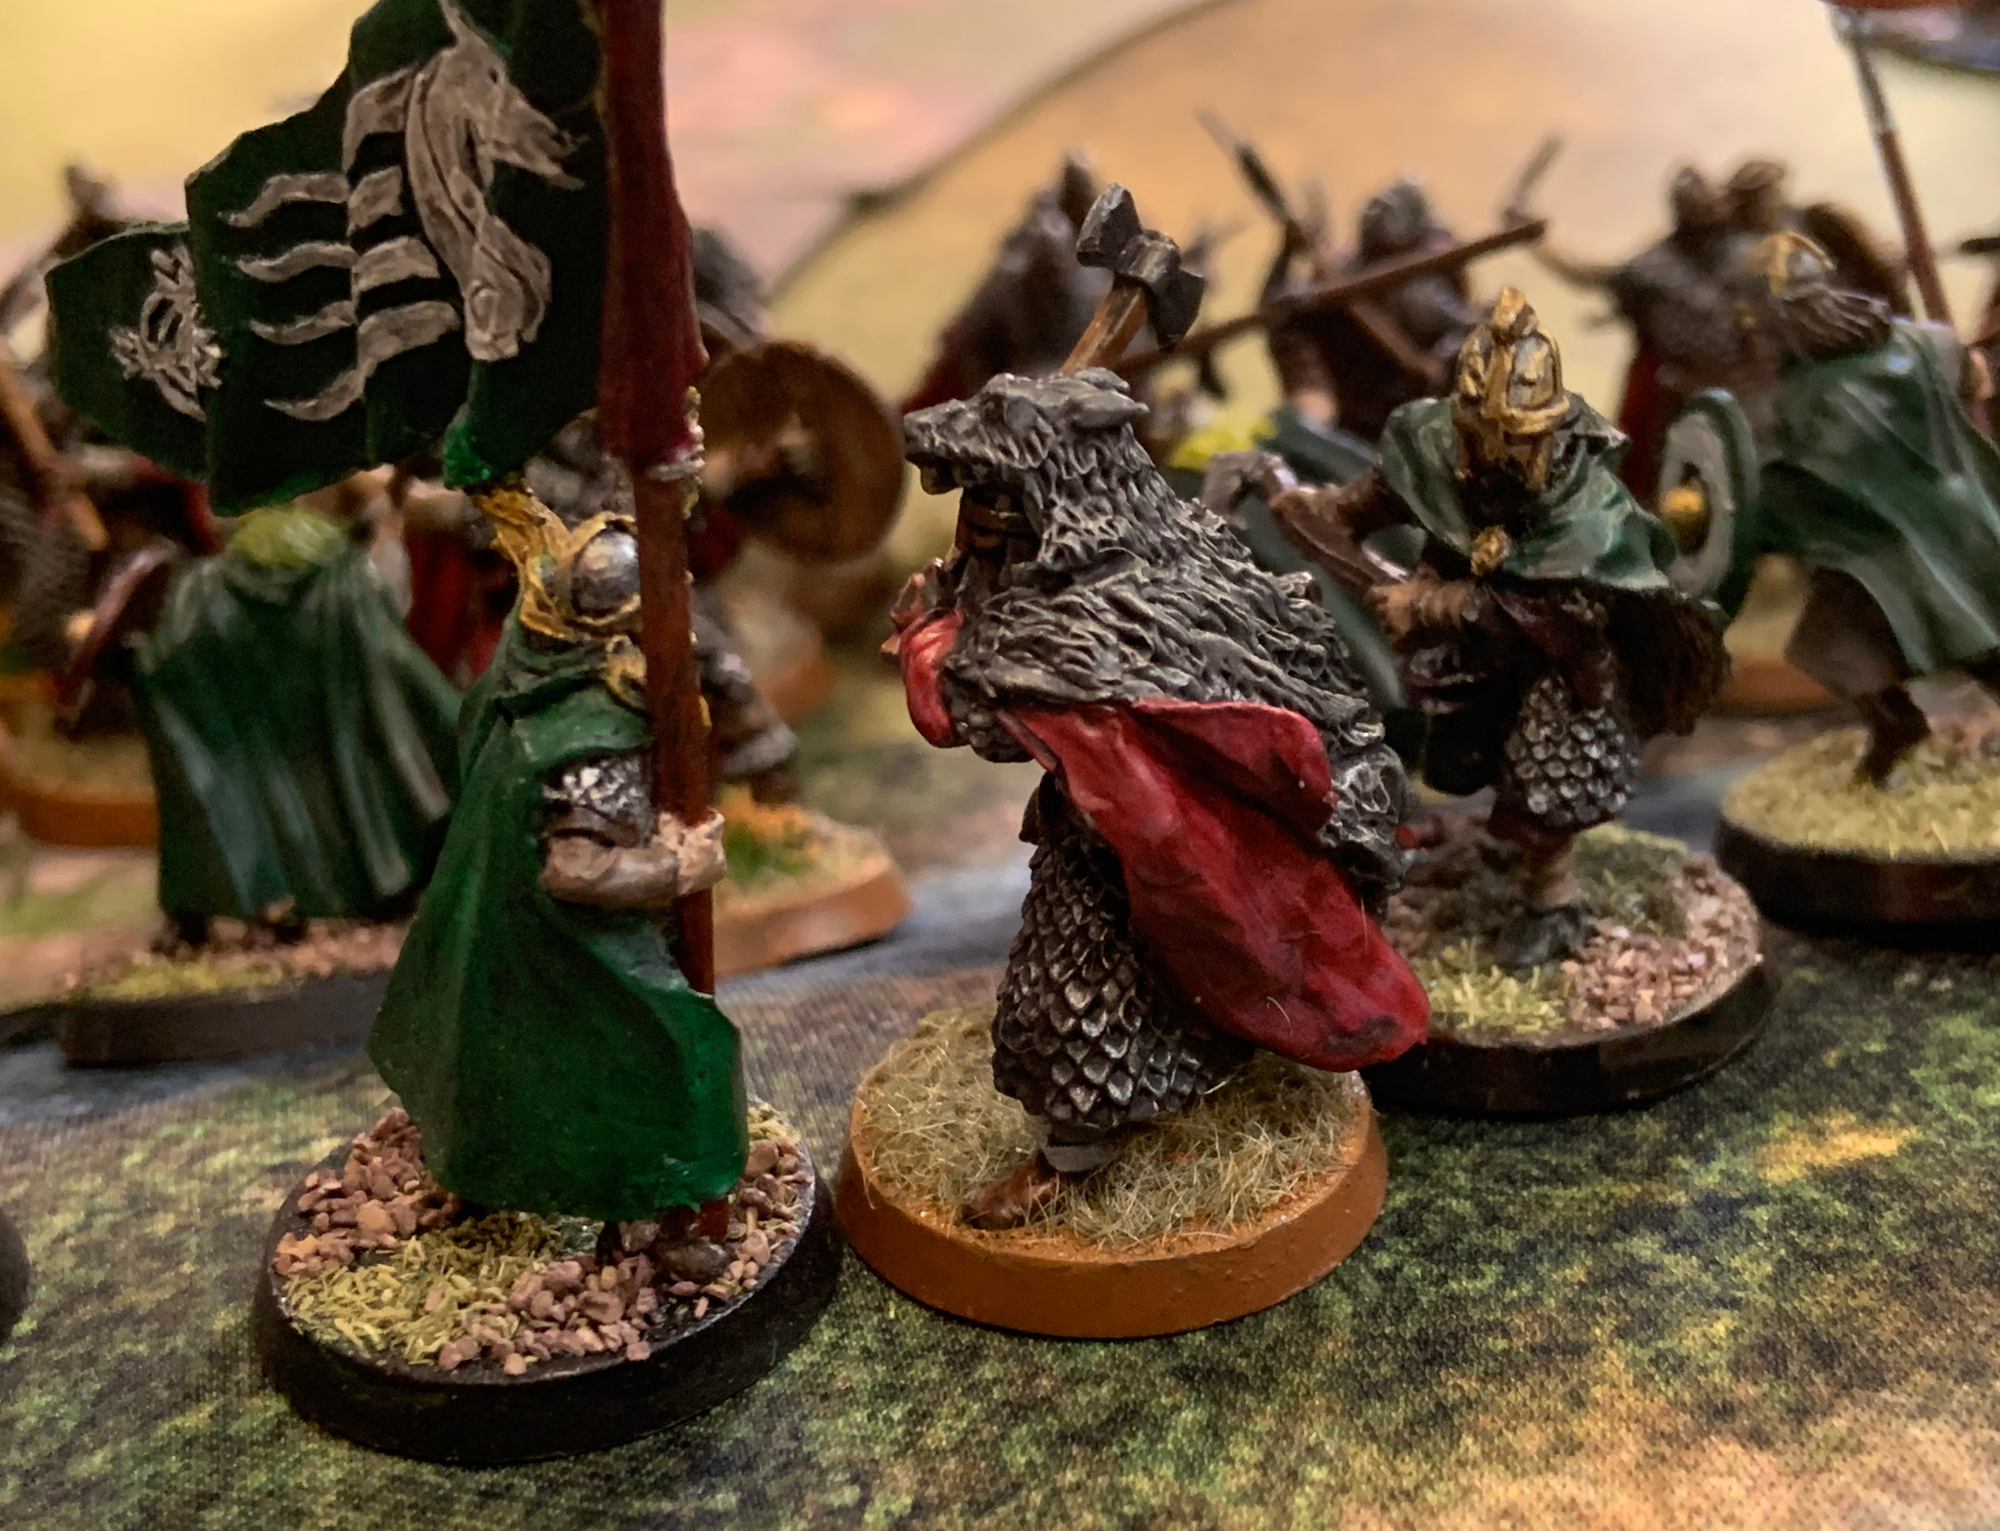
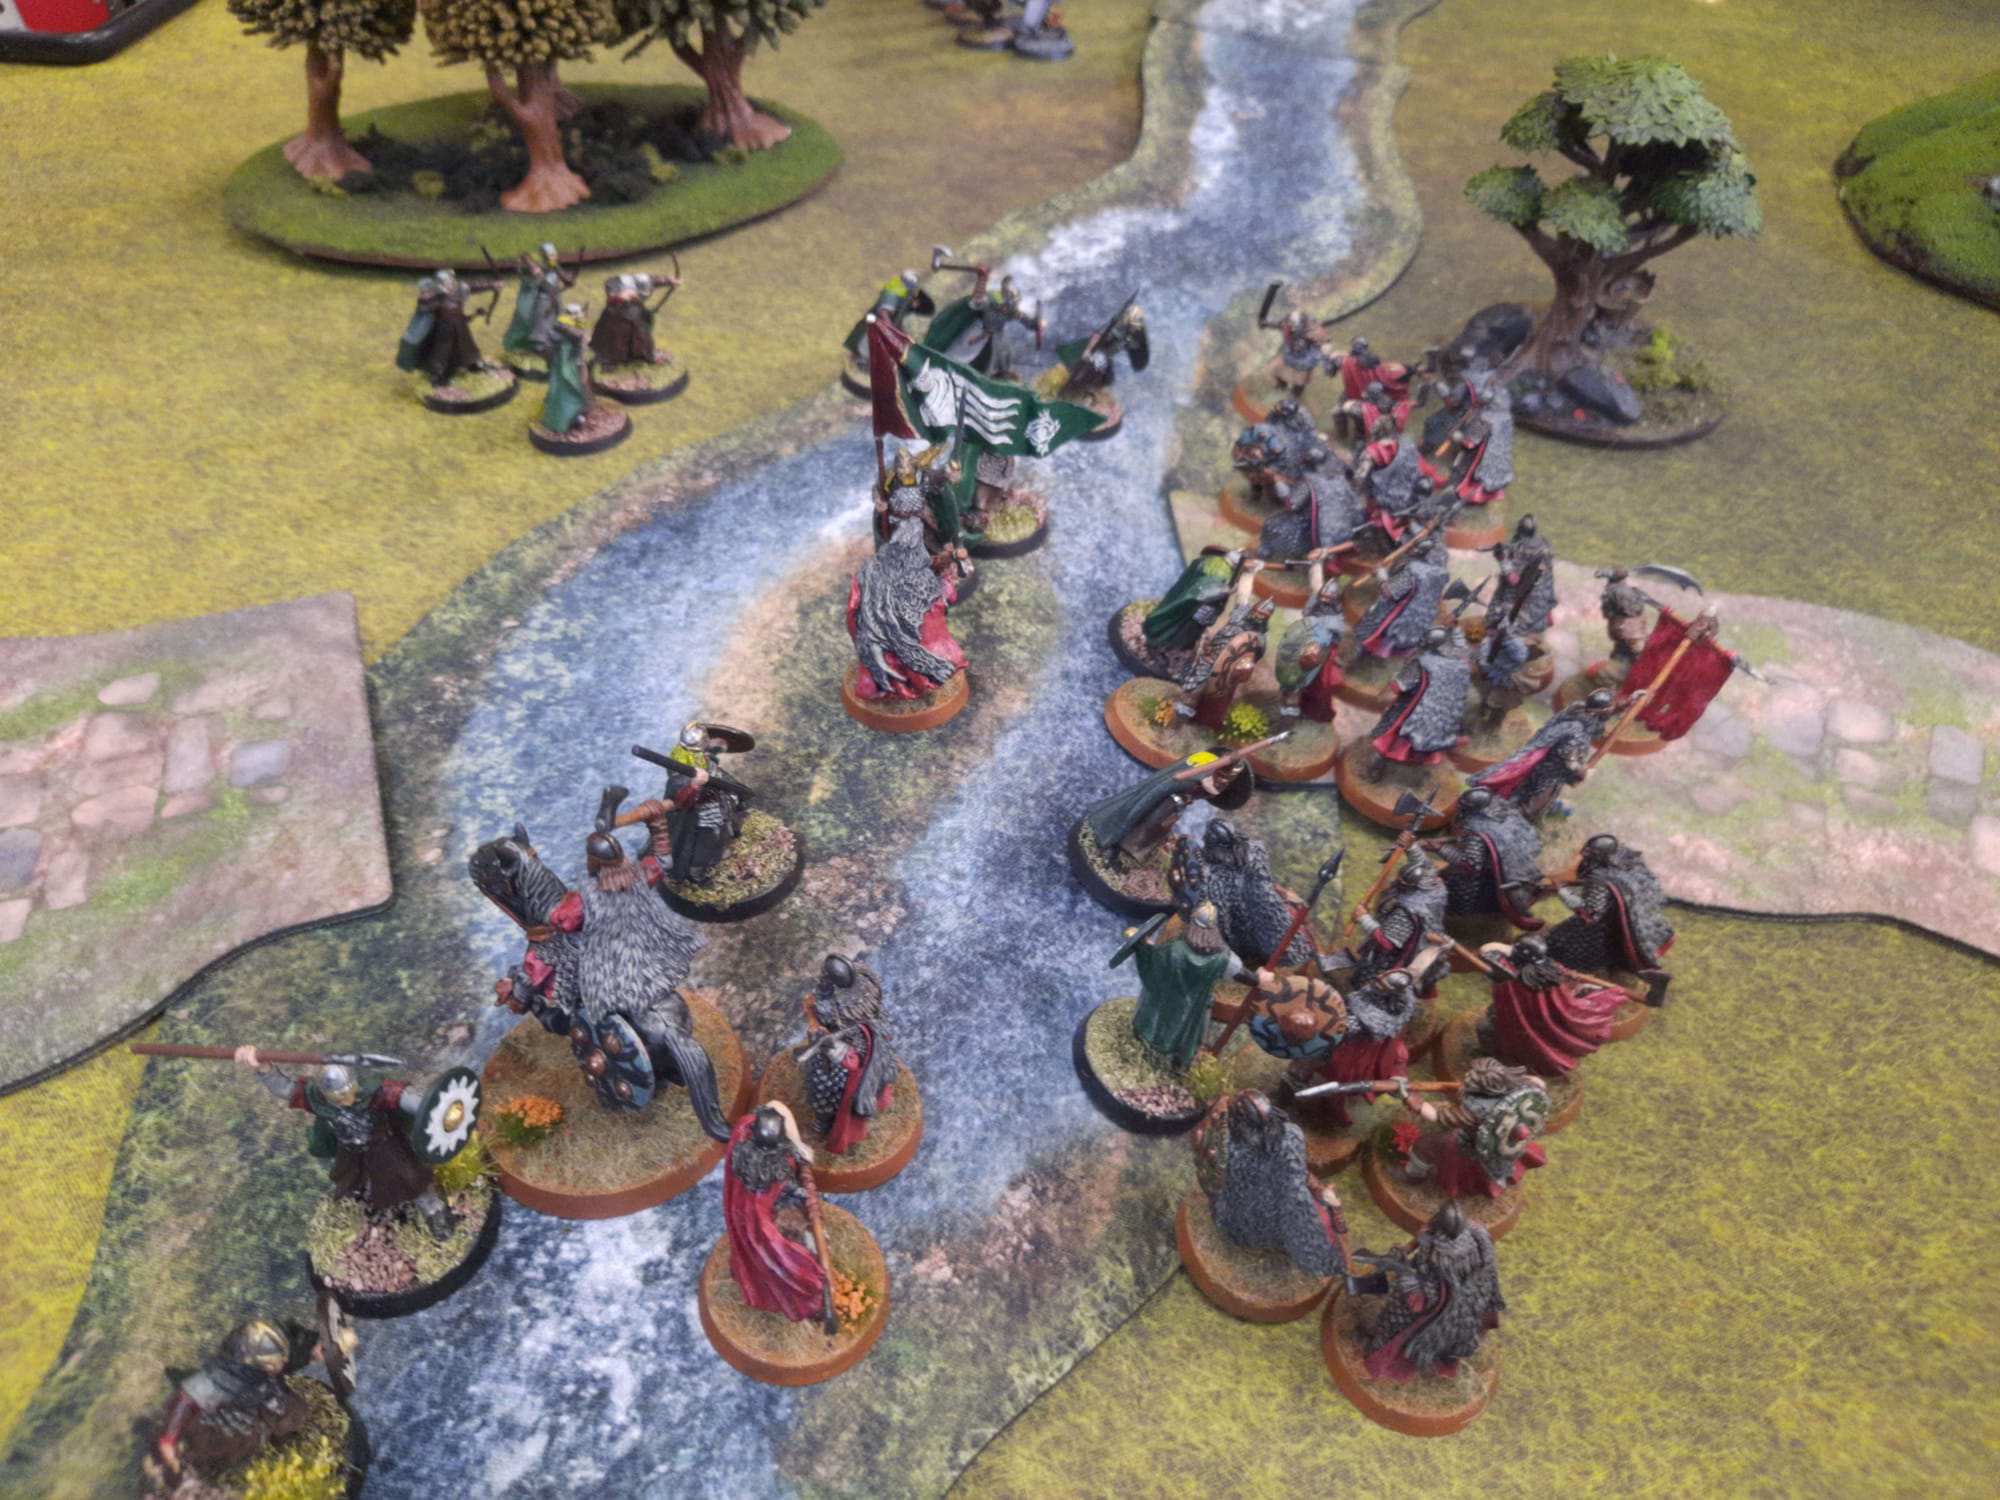
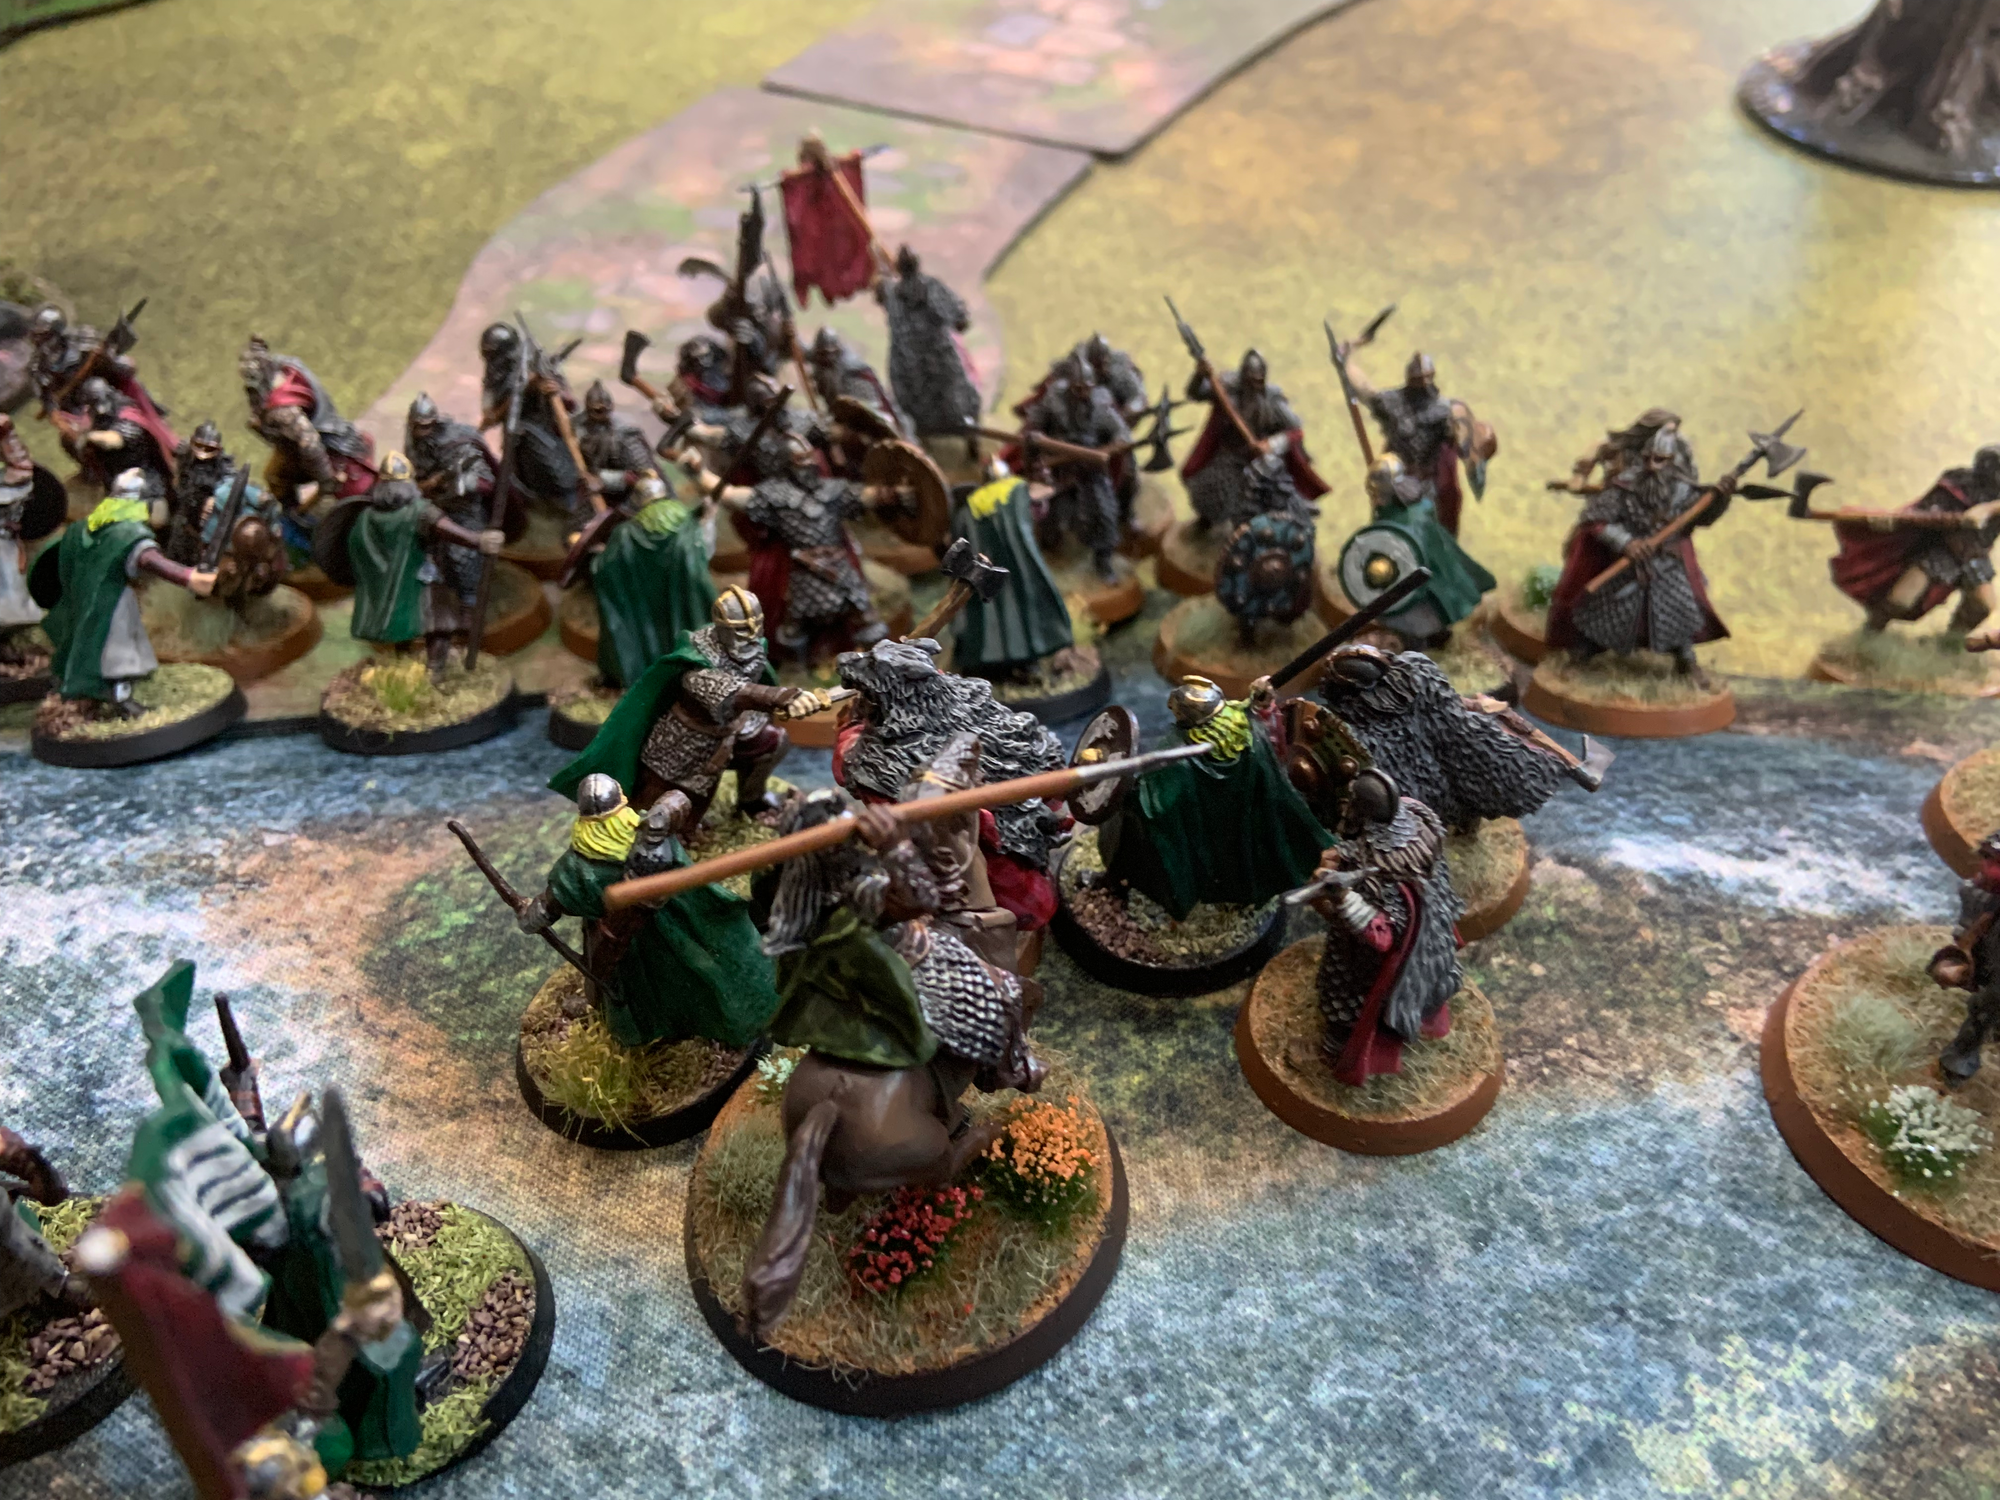
Infantry crowd the Ford; Elfhelm's cavalry force rush to their aid
Rohan's infantry begins the game at the center of the river Ford, on which they gain a bonus of rerolling 1s To Wound. Elfhelm's cavalry warband begins the game coming from the southern board edge, arriving to reinforce the Ford.
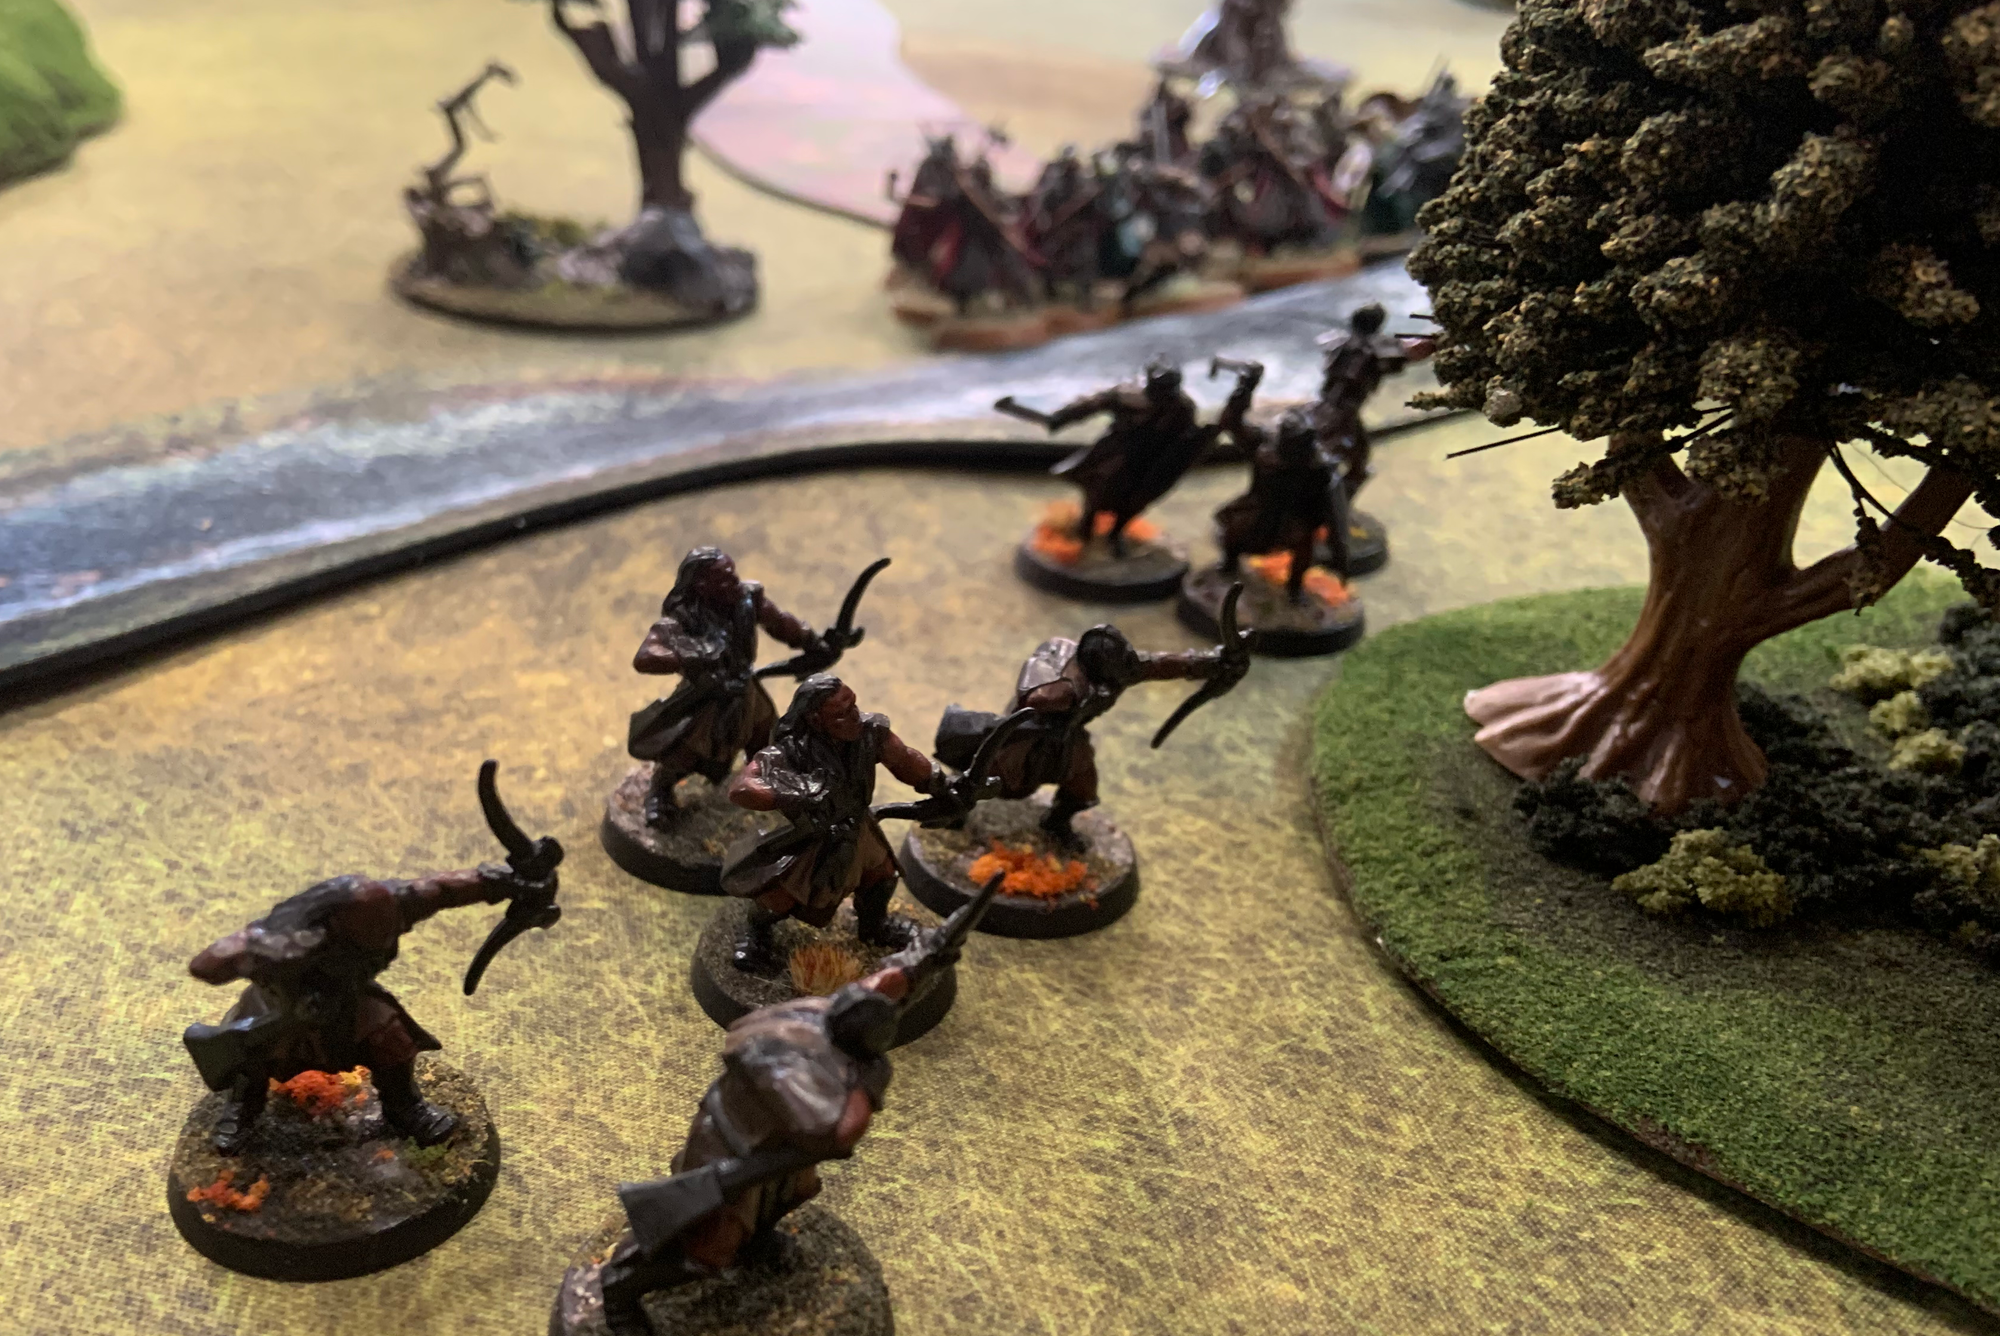
Mauhur's Maruders & Sharku's Warg Riders close in from the flanks
The forces of Isengard approach in a pincer movement, with the Uruk forces attacking from the west and Sharku's riders arriving from the east. Across the river on the northern board edge marches the Army of Dunland.
The Battle
The battle begins with Rohan winning the initial priority, opting to re-arrange their lines in order to maximize the distribution of their throwing spears and bowmen.
Evil begins their trek forward, marching directly towards the Ford on all fronts. Sharku declares a Heroic March, pushing his Warg Riders dangerously close to the Rohan lines.
The initial shooting battle sees both sides exchanging arrows and spears to middling effect. Dunland archers take down opposing bowmen on the Ford, while a Rohan Warrior successfully spears a Warg, throwing a rider to his death. The sharpshooting King's Huntsman takes aim across the river with his longbow and manages to de-horse Thrydan Wolfsbane, spending a point of might in the process.
Elfhelm & Mauhur maintain a healthy distance on the western flank
With the initiative shifting to the forces of Evil, Mauhur's forces on the western flank choose to screen Elhelm's fearsome cavalry, with both forces maneuvering to stay out of each other's charge range. The extended movement of Mauhur's Marauders means any attempt to enter throwing spear distance will open the cavalry up to a counter charge.
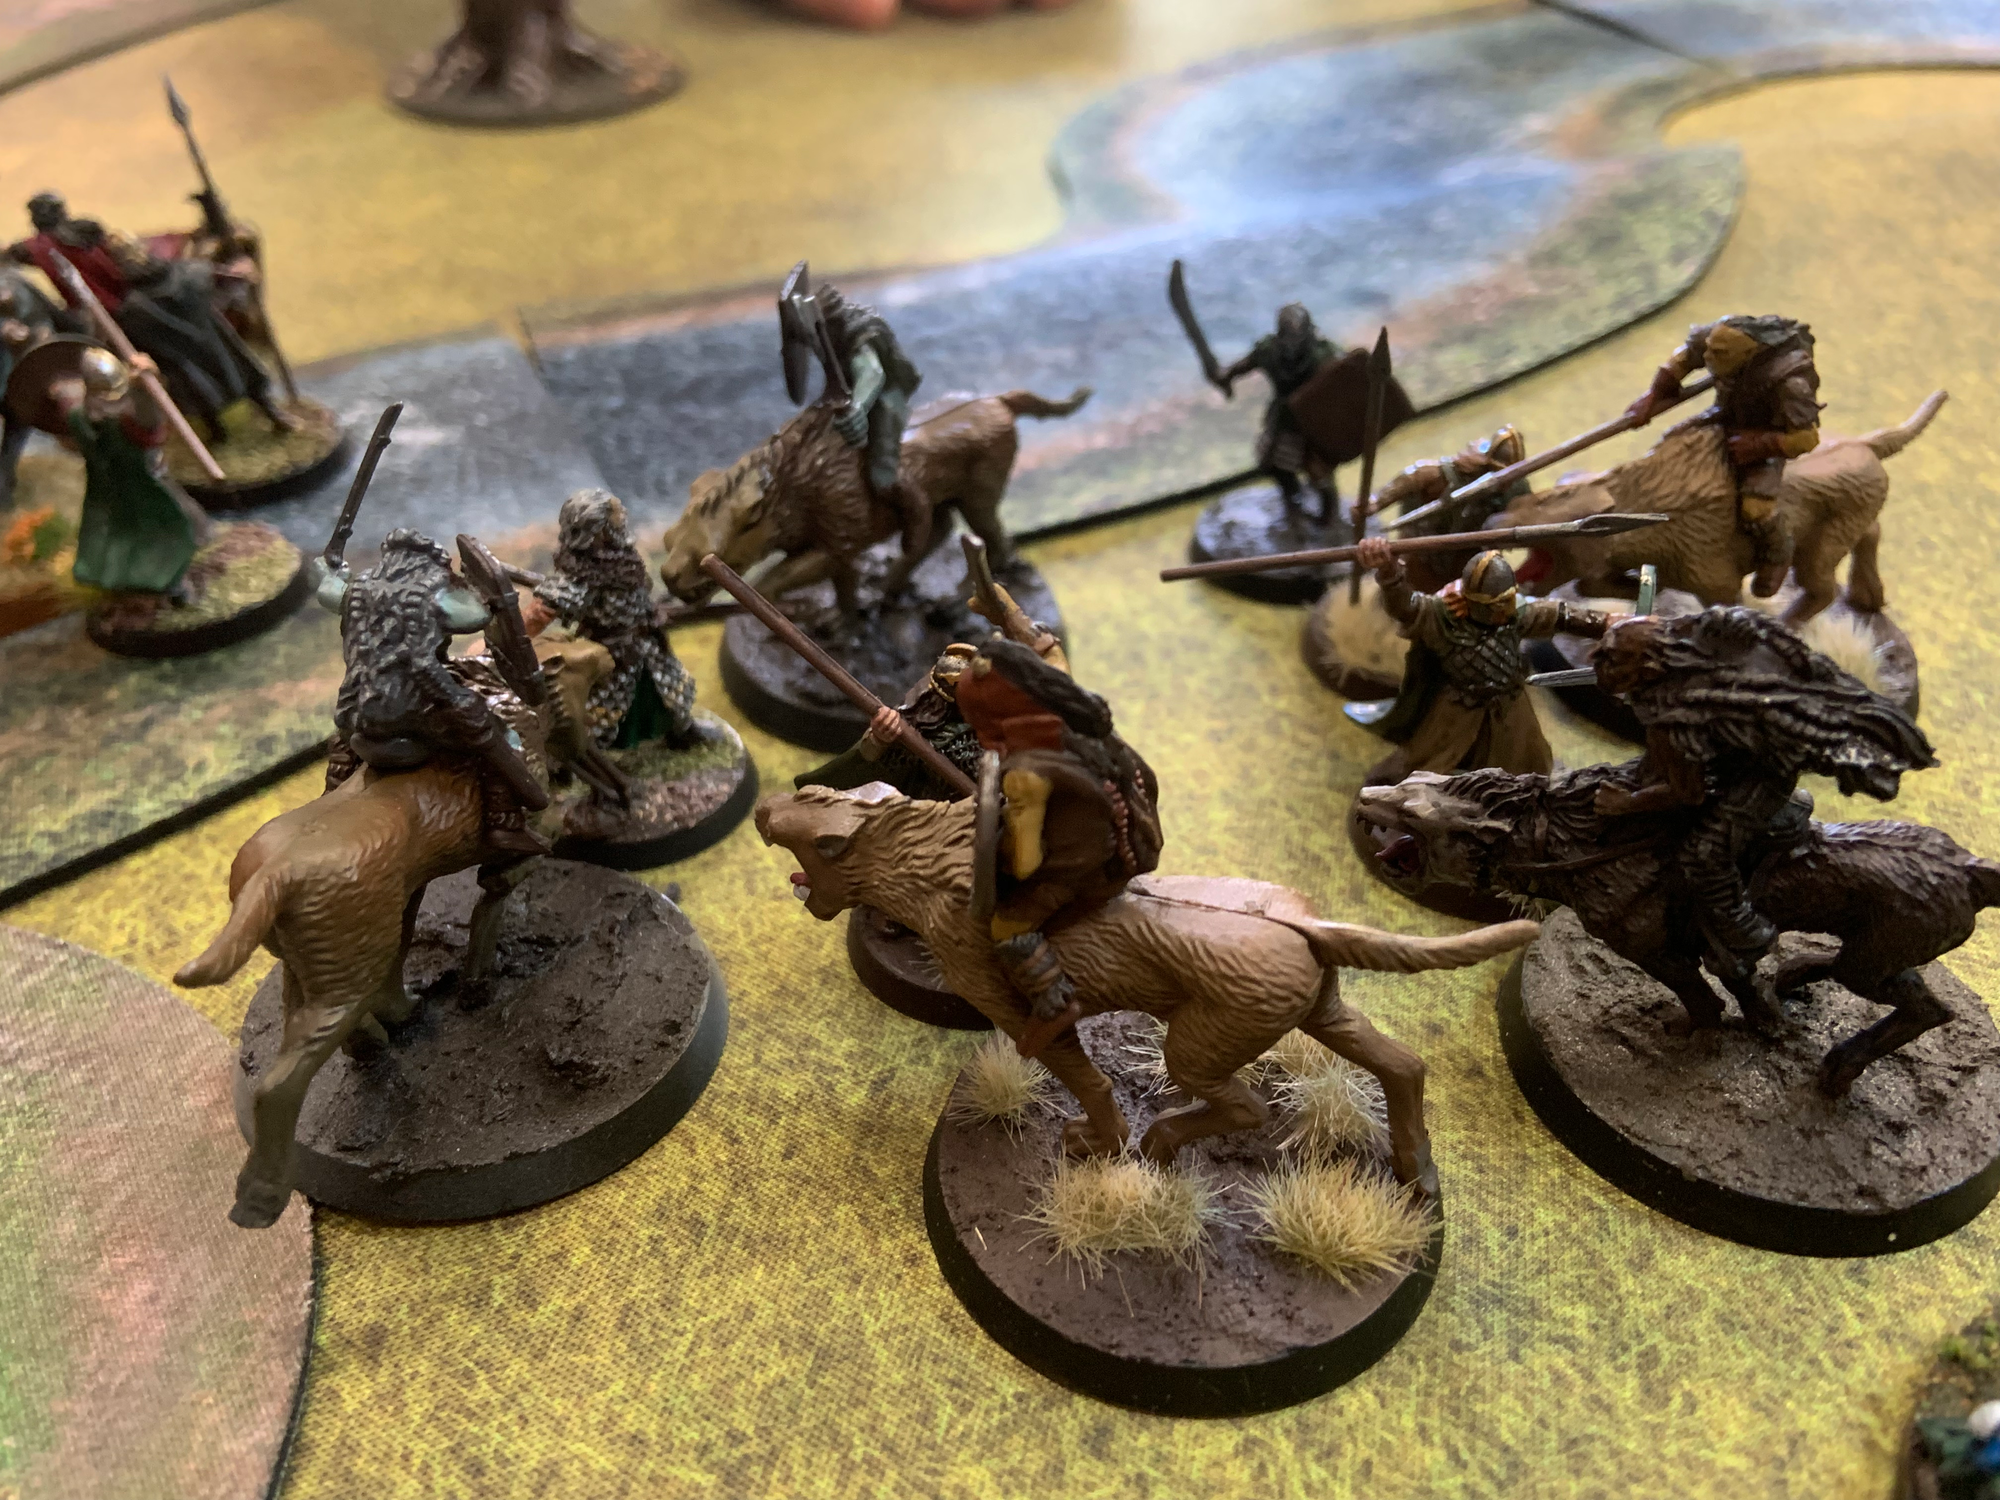
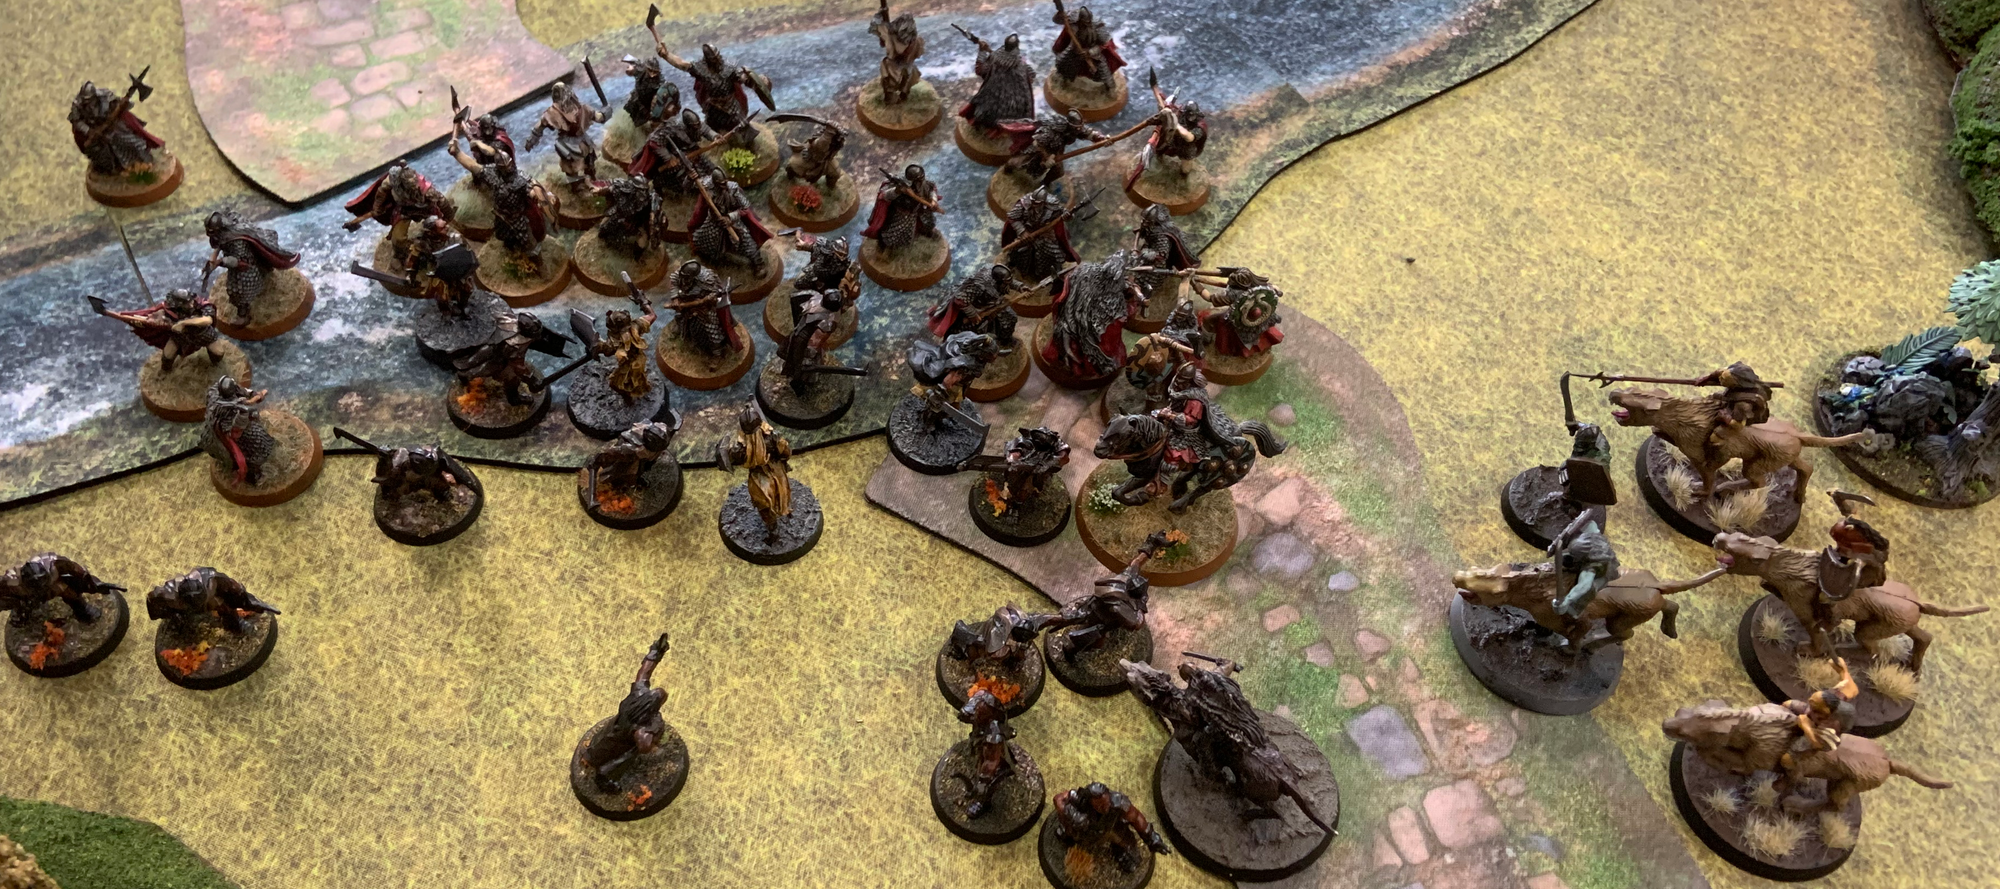
To the east, Sharku and his Warg Riders charge into the Rohan blocking force, utilizing their throwing spears to open a few holes in the line.

Dunland's charge can't quite get to the Rohan lines, they'll have to endure another round of throwing spears
On the ford itself, the forces of Rohan retreated a few inches as Dunland continued forward towards the ford, opting to stay out of charge range but still maintaining their barrage of throwing spears, which were not quite as effective as they'd hoped.

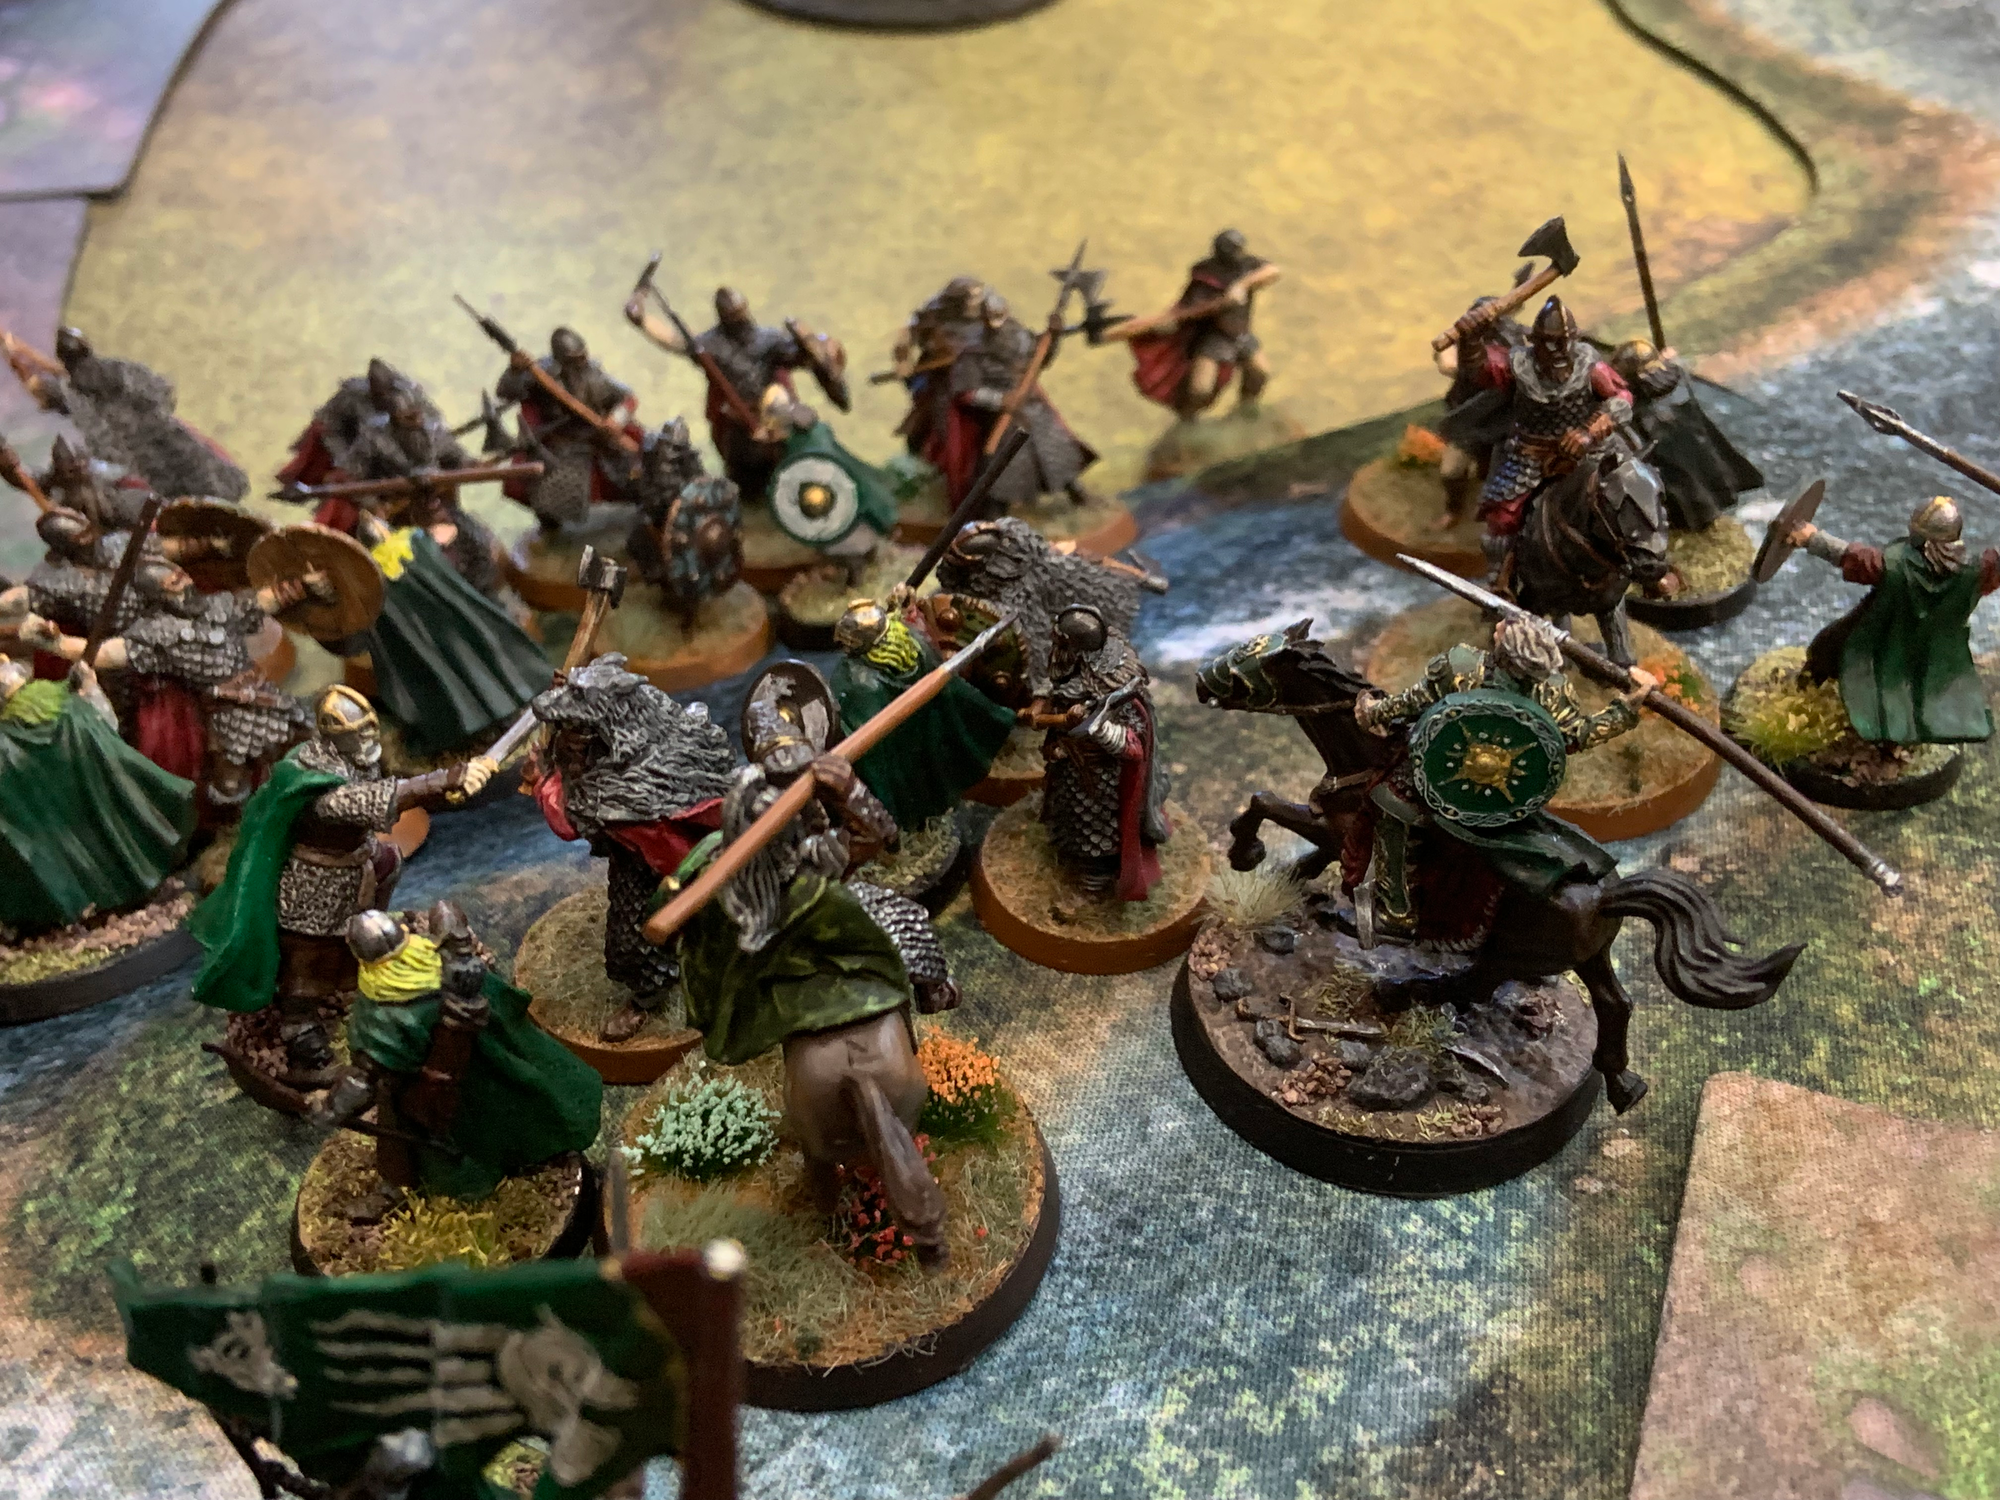
The lines clash | Cavalry charge the eastern flank | Warg Riders pounce on their prey
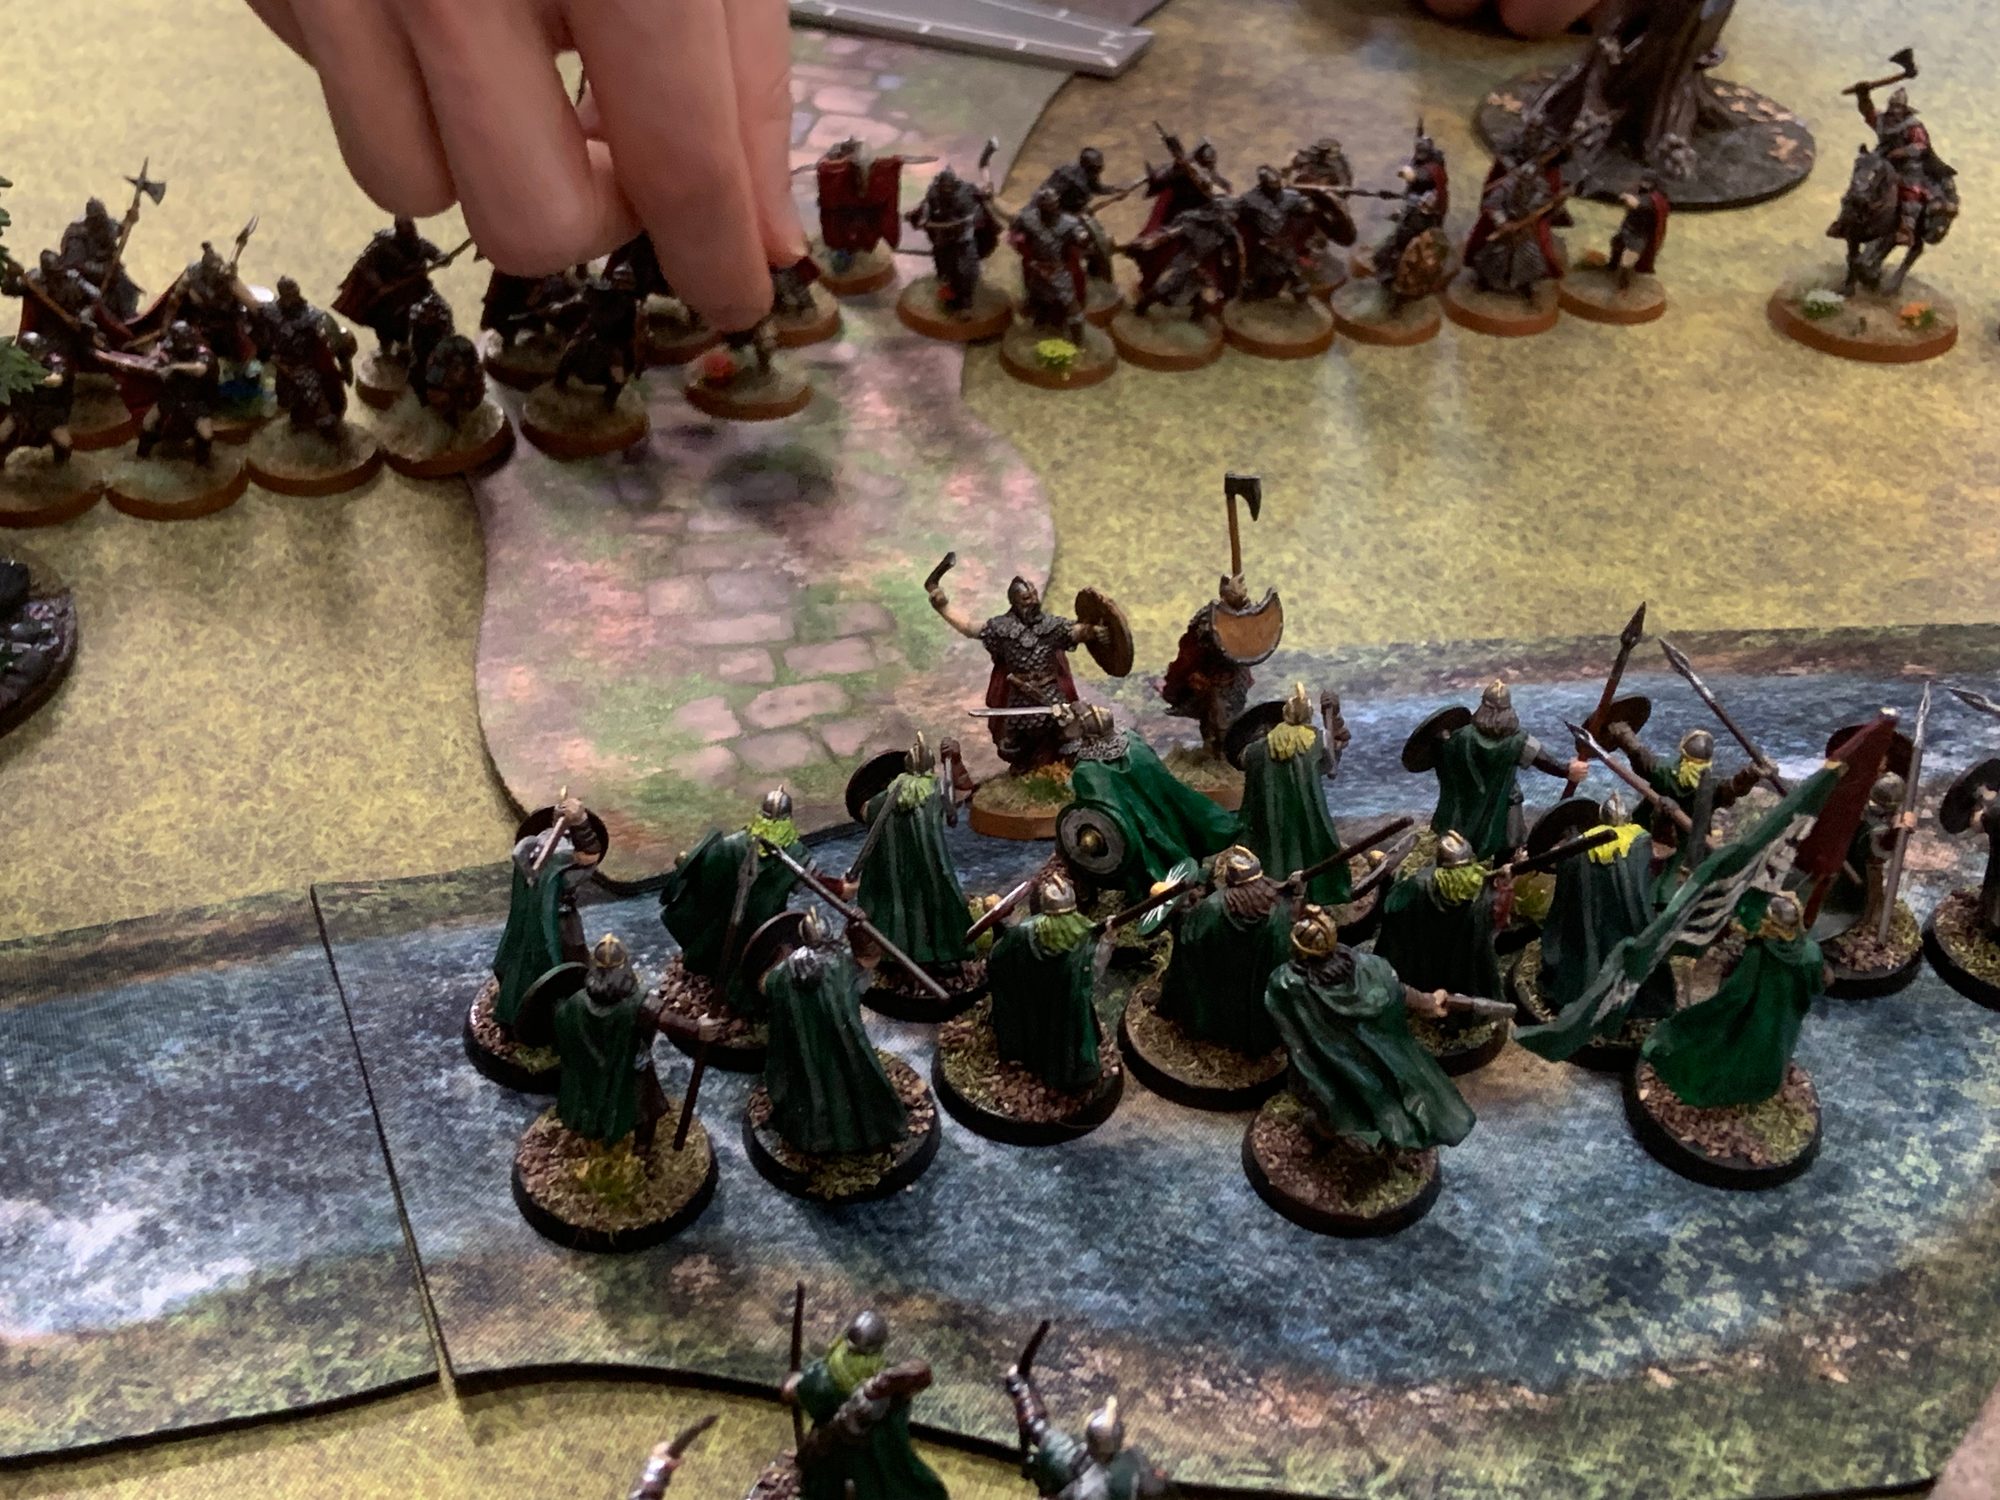
As the next turn begins, the Captain of Rohan bravely calls a heroic move, pushing forward into the Dunland lines at the edge of the Ford, with Grimbold and the bulk of the Rohan infantry coming along with him. Charging in with their throwing spears, the Rohan Helmingas manage to bring down a few opposing warriors, but more importantly, tie up the larger Dunland force on their own terms. On the eastern edge of the ford, Thrydan and the Dunland cavalry respends by charging in to a few blocking warriors protecting the rear of the main line.
To the south, Sharku wins a Heroic Move roll-off against the King's Huntsman, allowing his riders order to tie up Good's main shooting threat and continue to press the advantage of their charge bonuses.
Back to the west, the maneuvering between Elfhelm and Mauhur continues, but the Isengard scouts begin to screen around a patch of trees out of cavalry charge range, continuing to harass the Riders and Royal Guard with thier Uruk bows, managing to dismount a couple Riders.

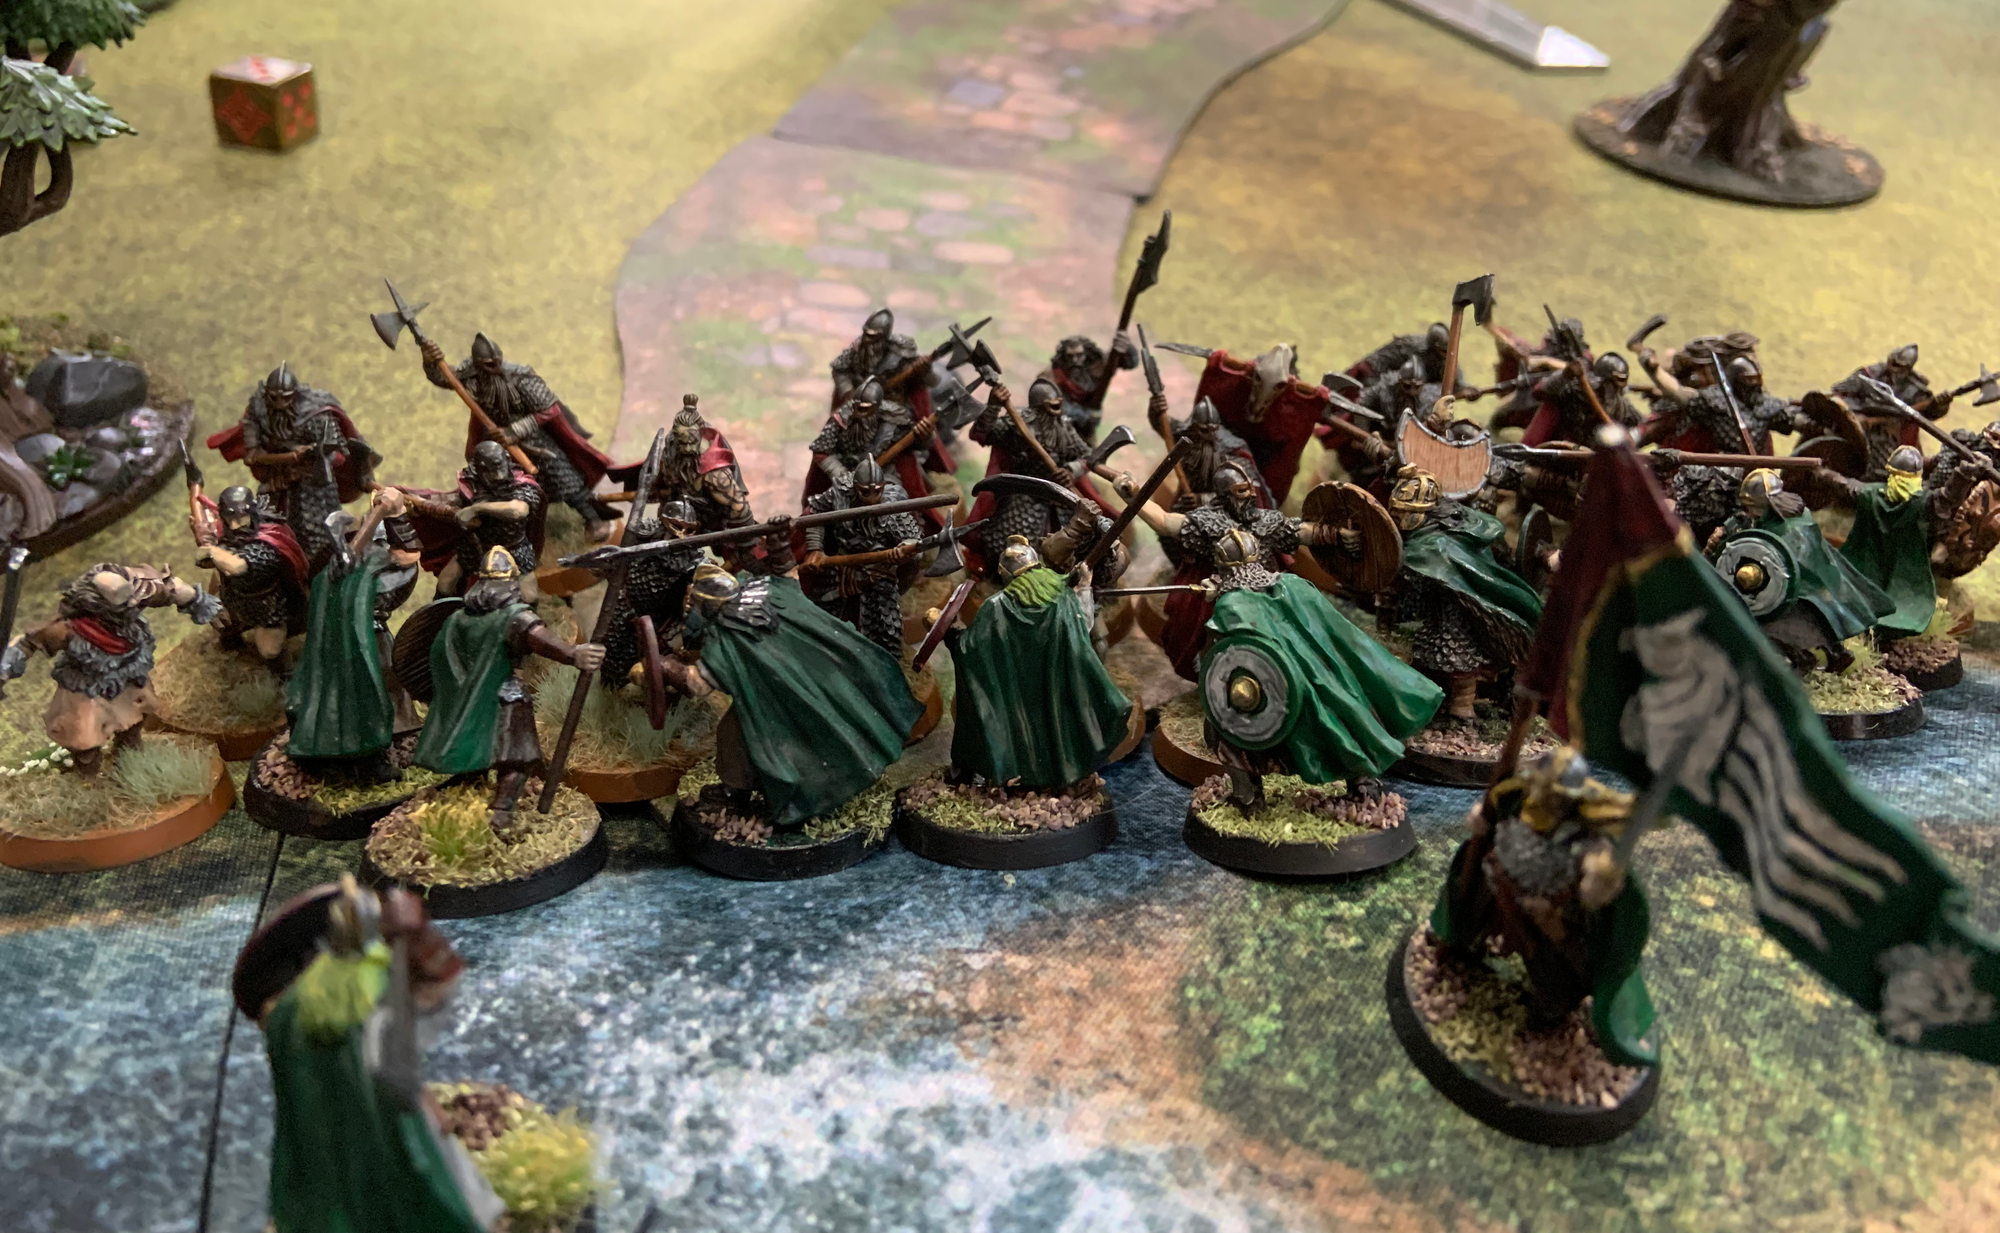
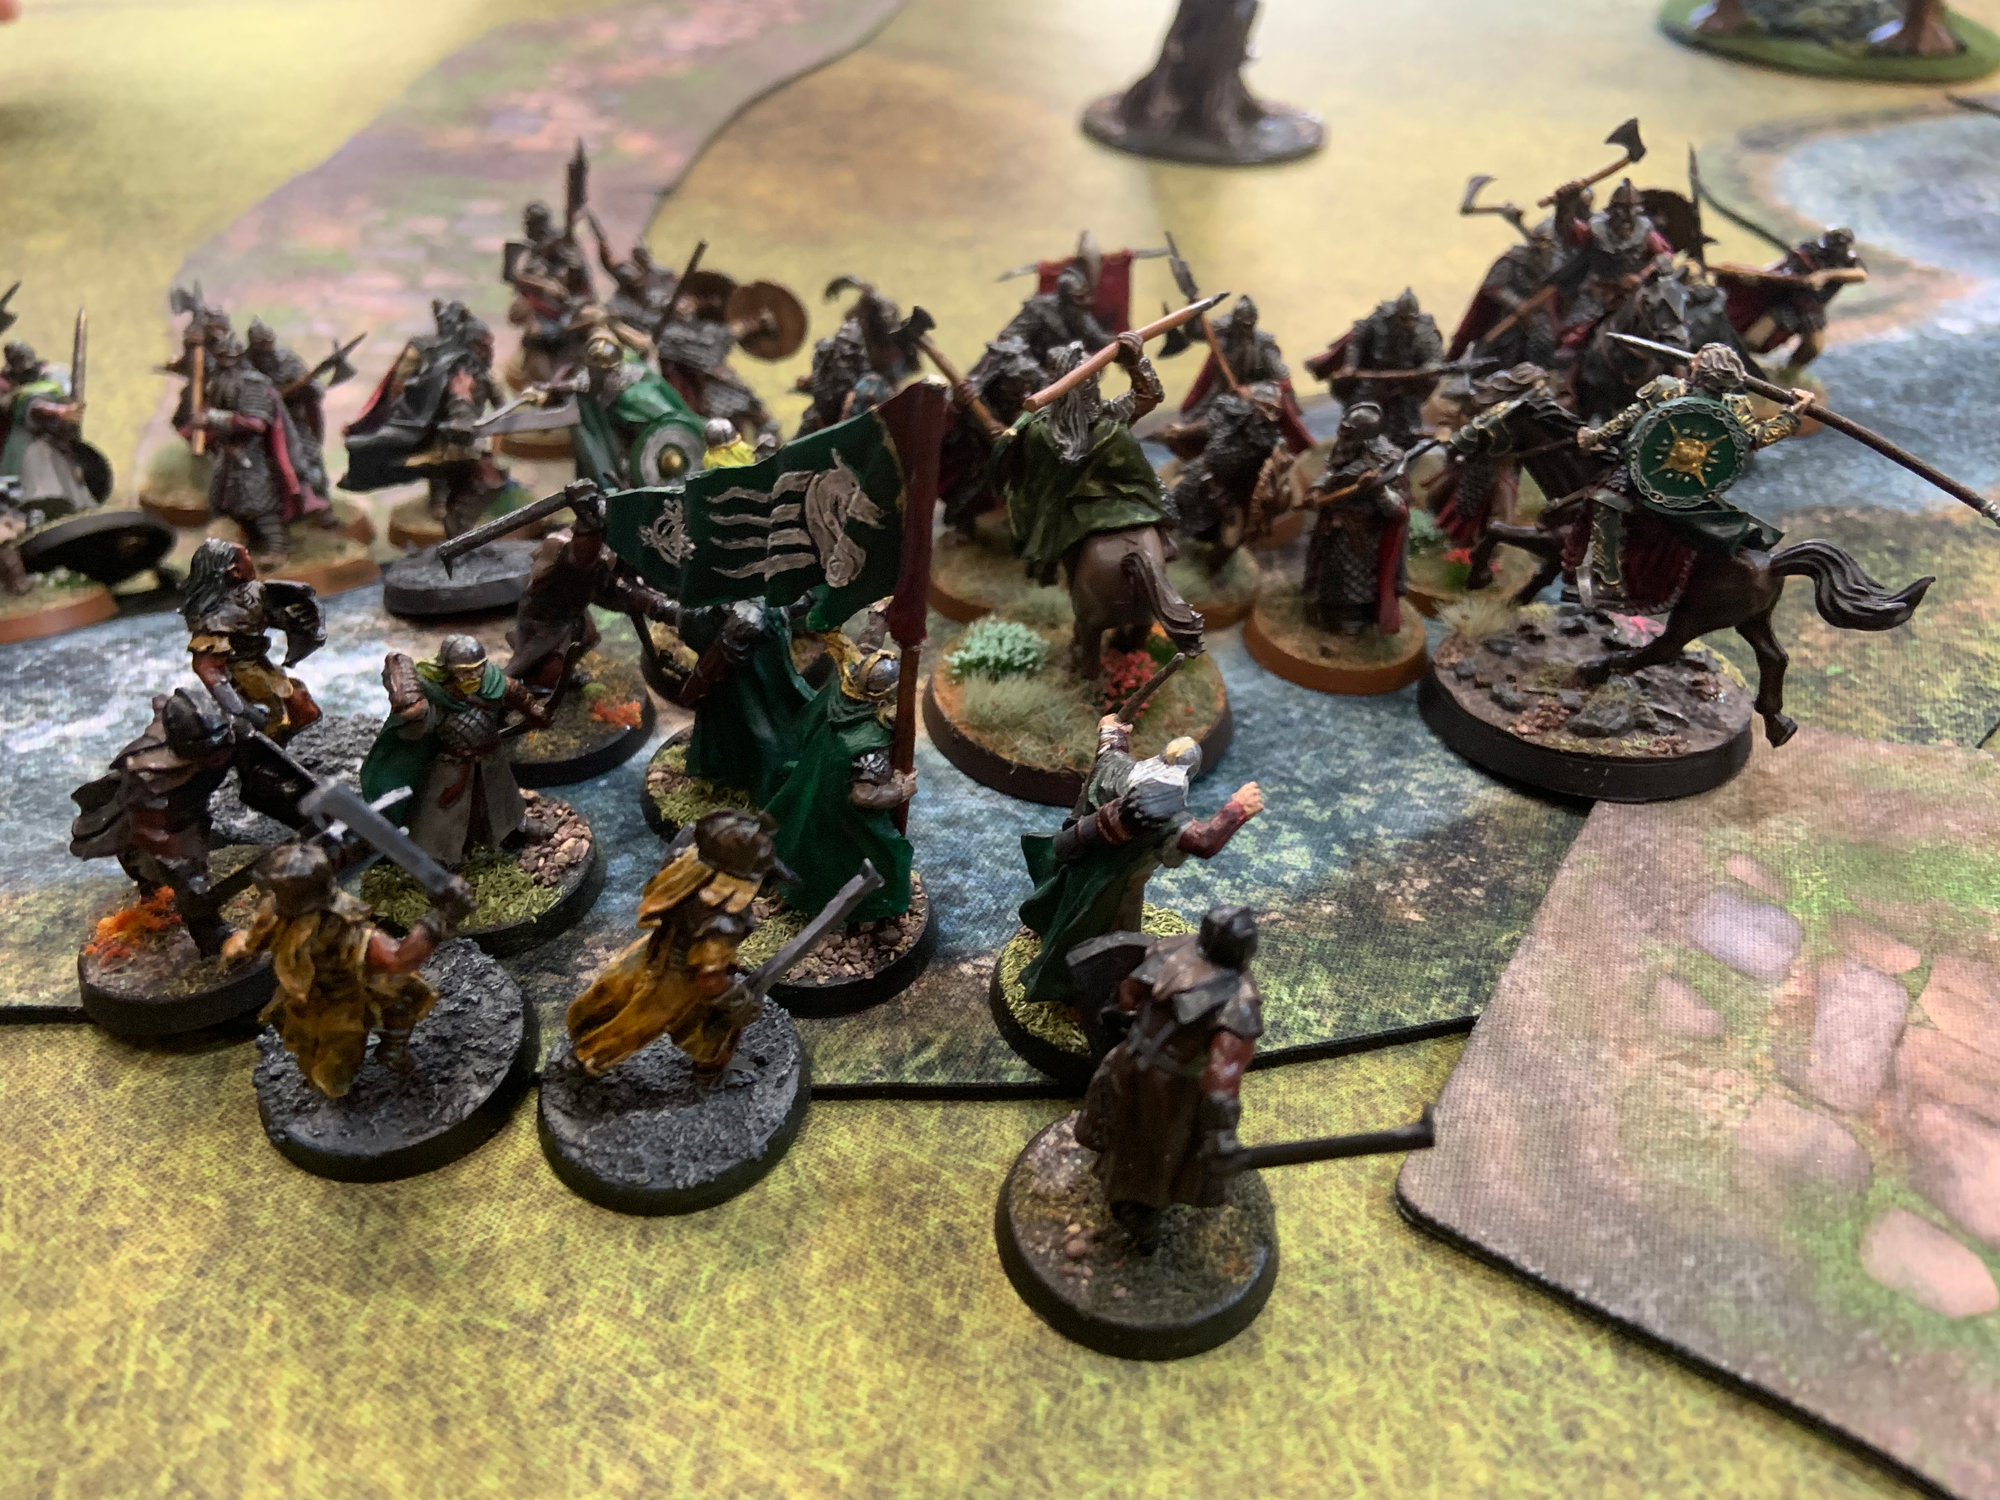
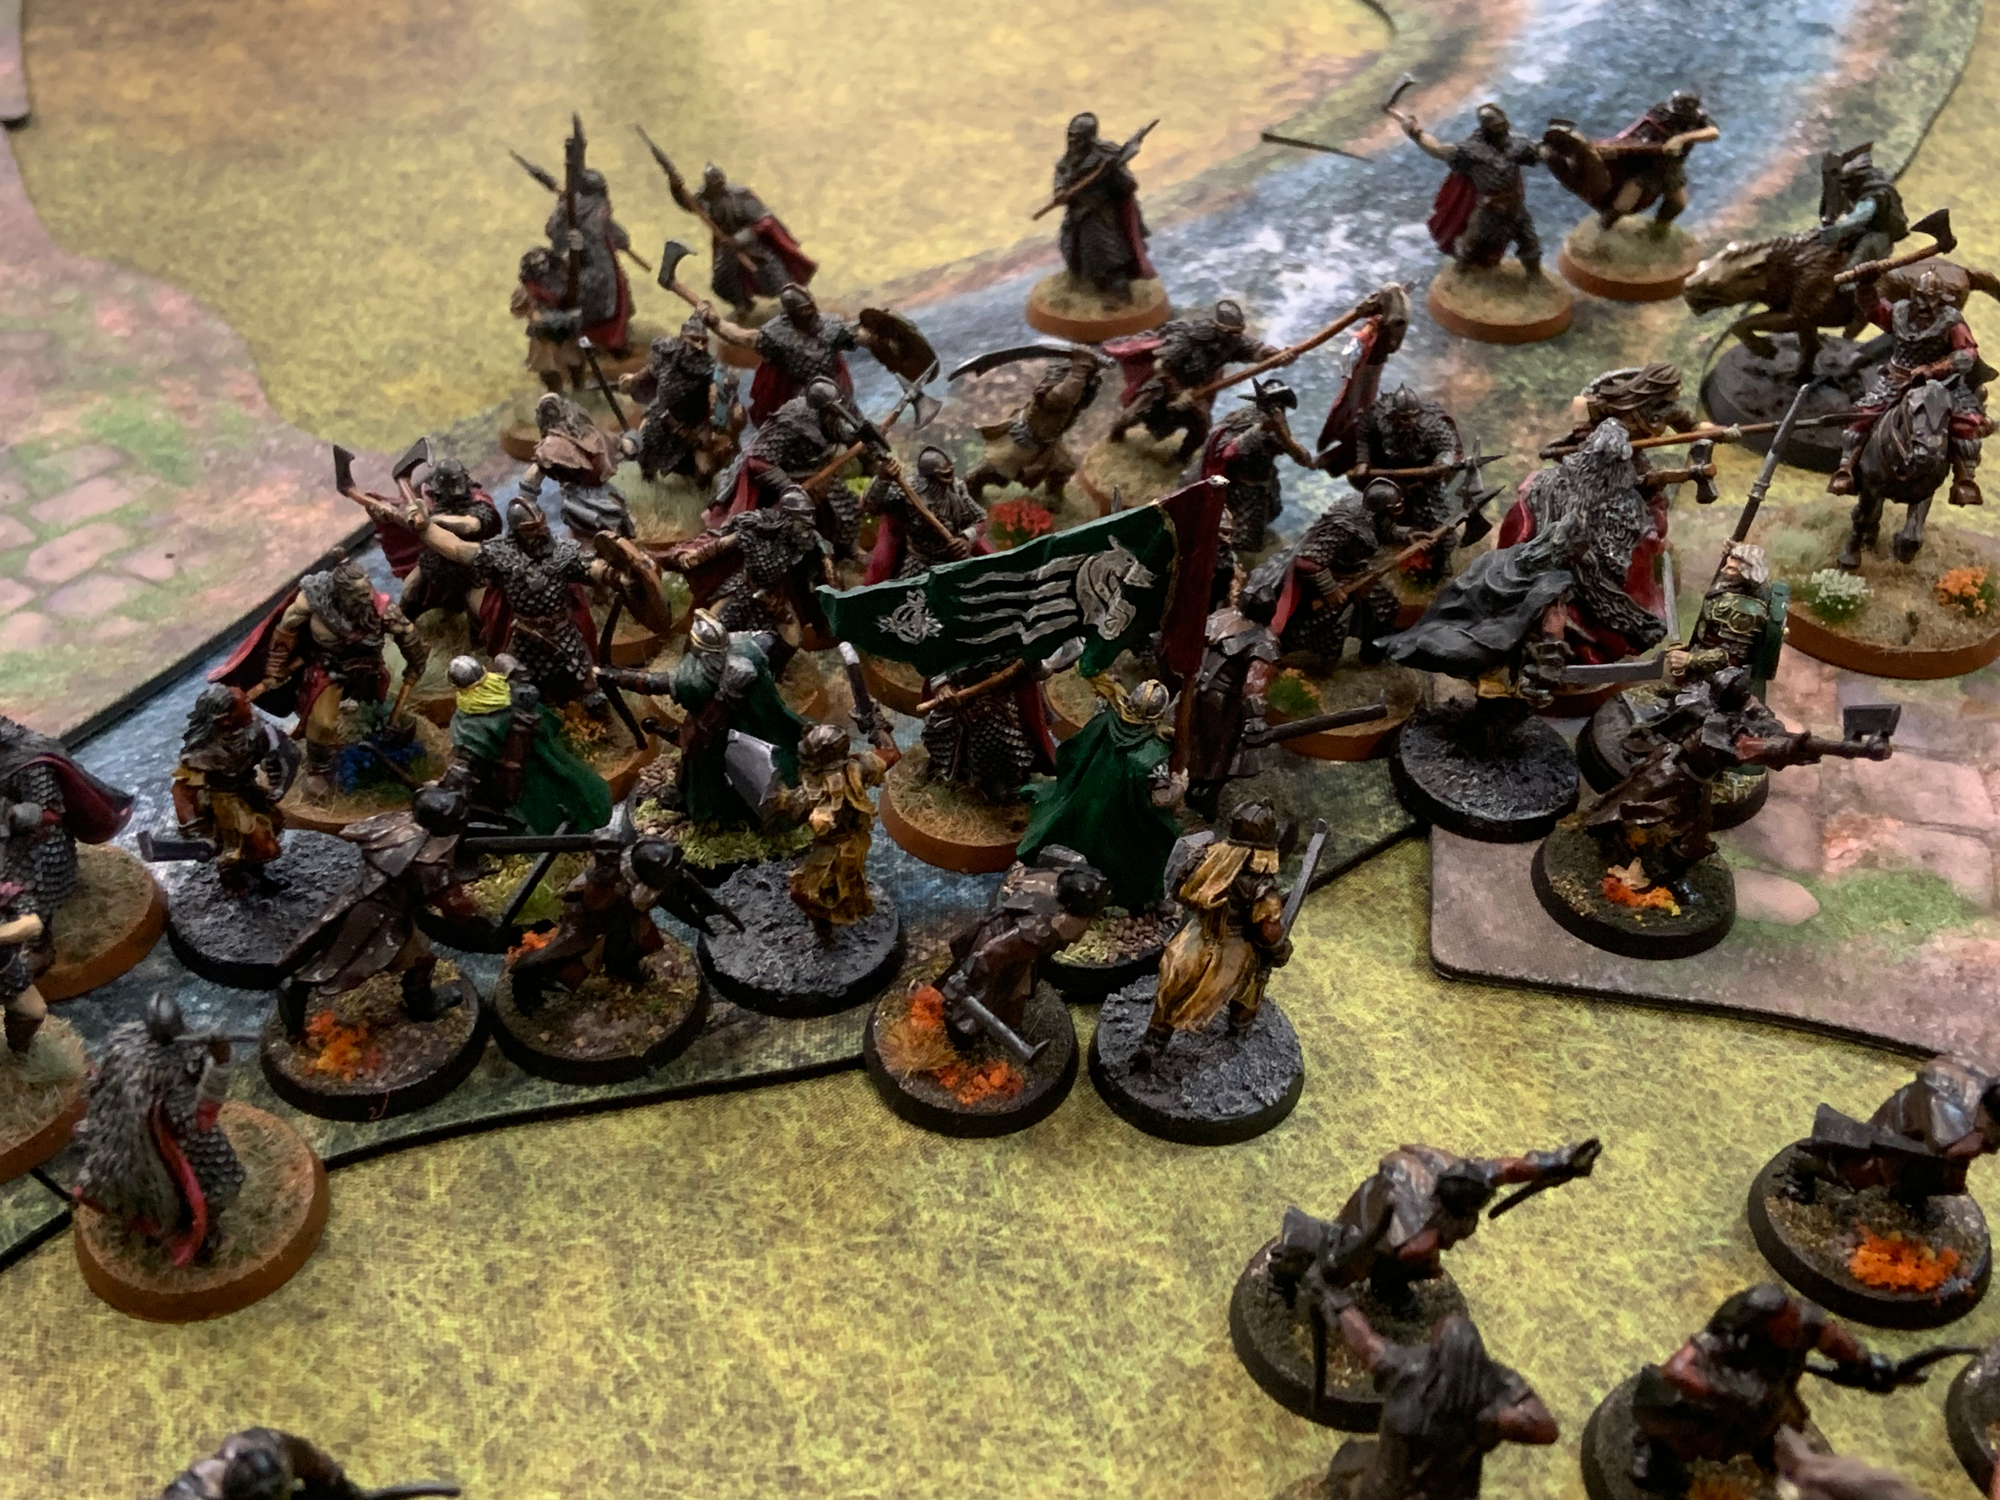
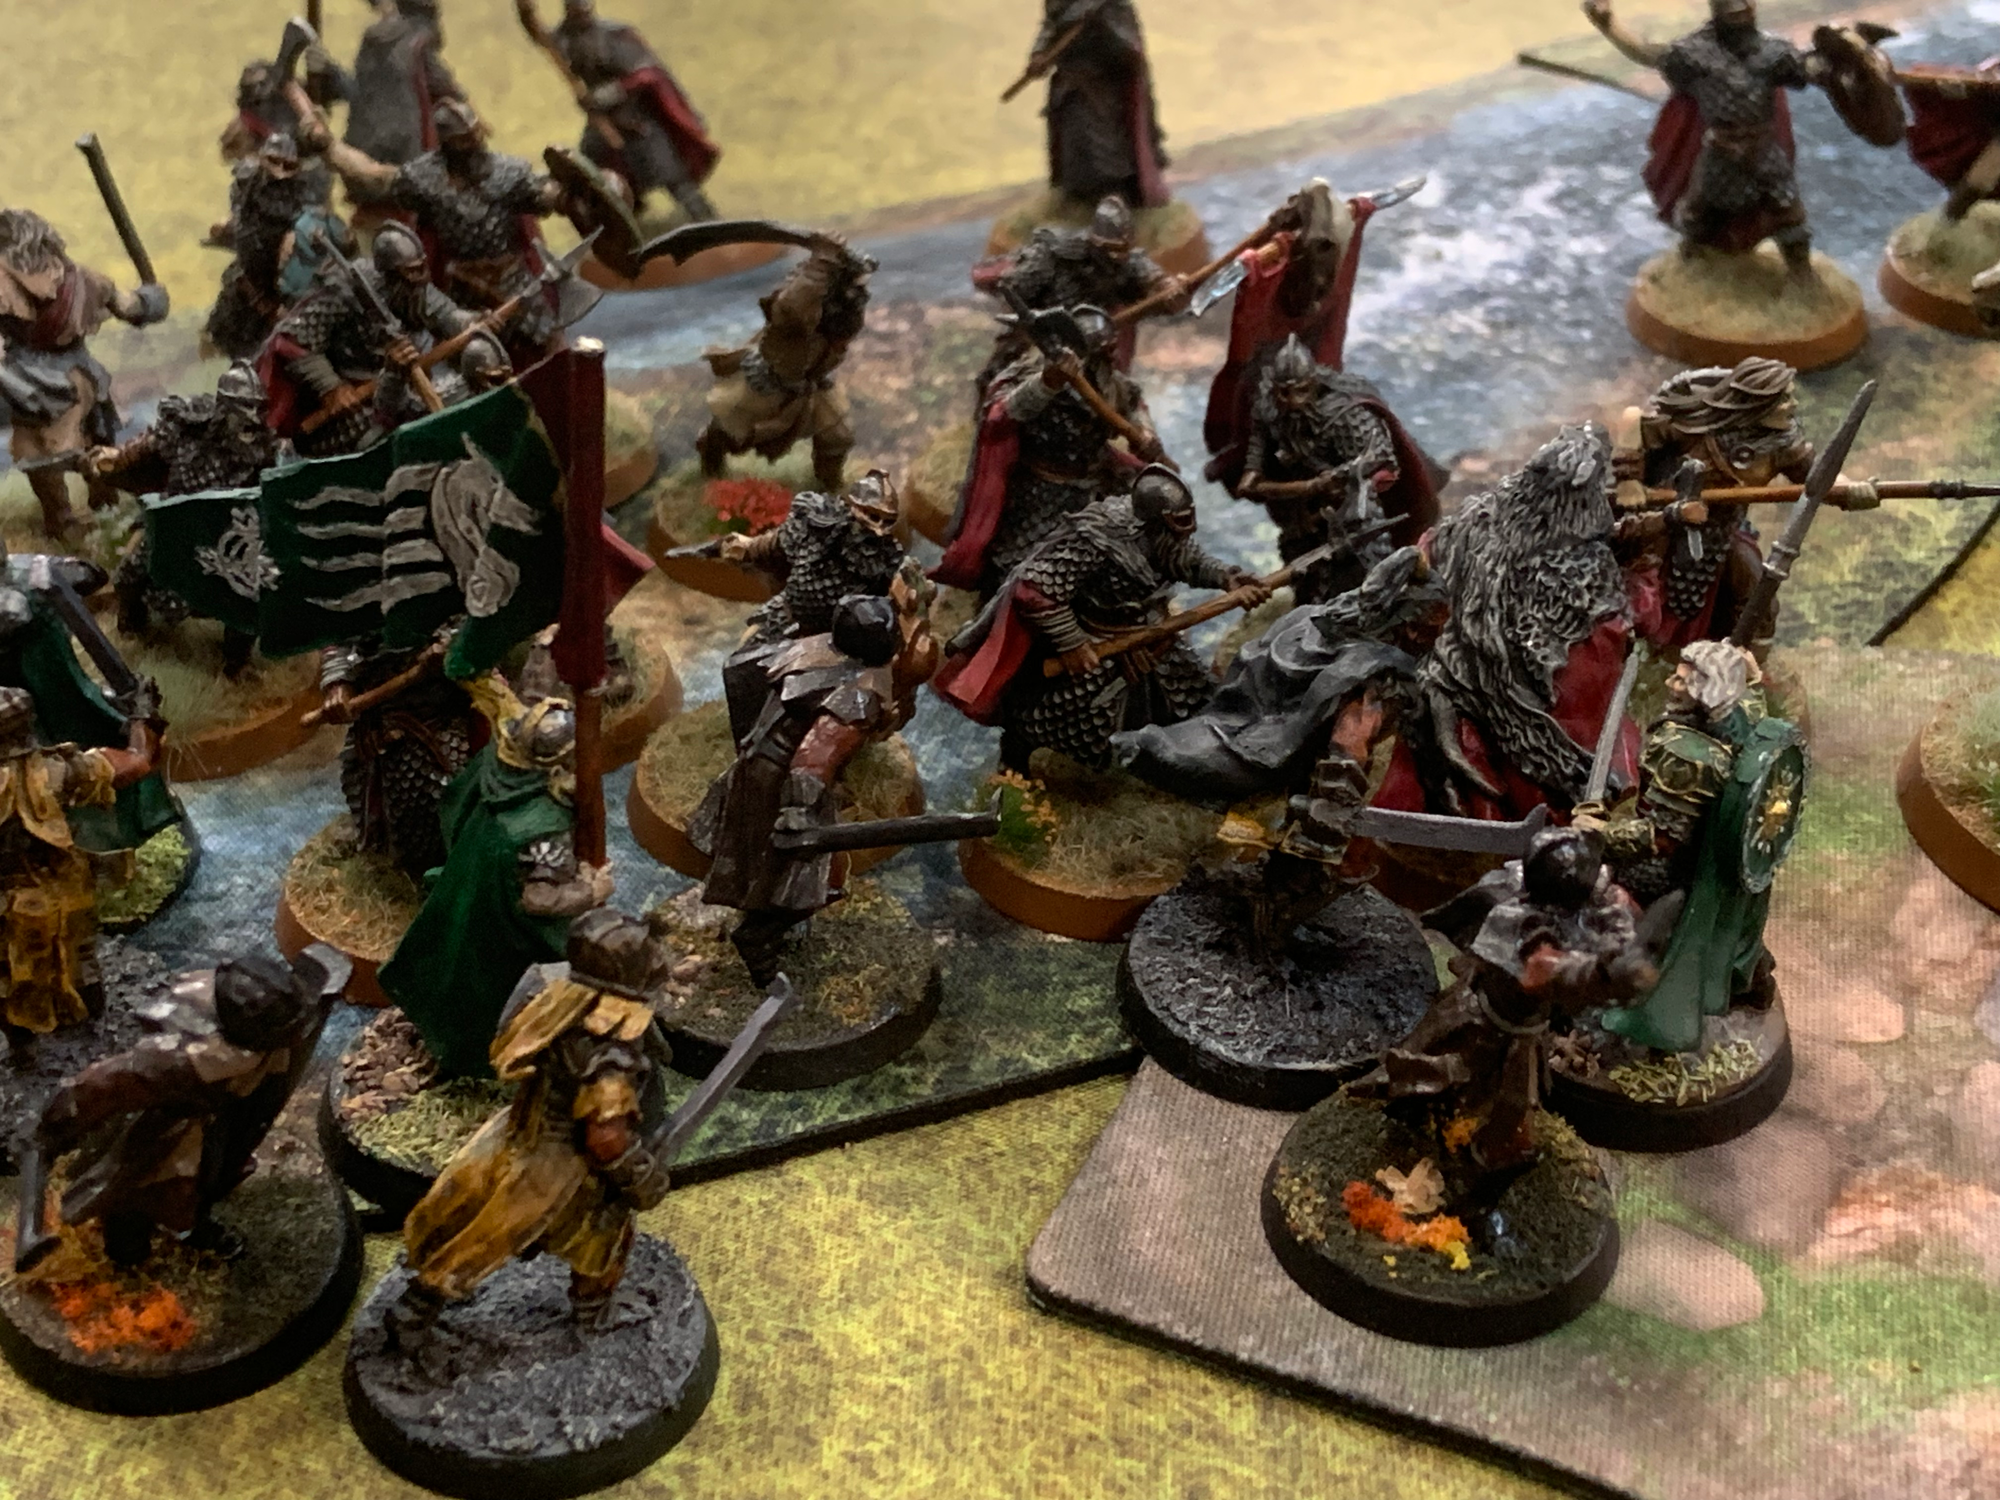
Thrydan targets the banner | Grimbold to the rescue
The combats get off to a blistering start, with three heroes on the ford maneuvering towards a early showdown. Thrydan, Grimbold, and the Rohan Captain all declare heroic combats, as Thrydan has positioned himself in range of Rohan's banner. Grimbold and the Captain both recognize the threat, and if they can escape their own combats, could to turn the tables on an out-of-positon Thrydan.
The roll-off goes to Evil, and Thrydan easily dispatches a warrior, moving into combat with the banner. The Captain fails to slay his opponent, keeping him out of the critical battle, but Grimbold's combat succeeds and the Rohan leader moves to rescue his banner from the Dunland leader.
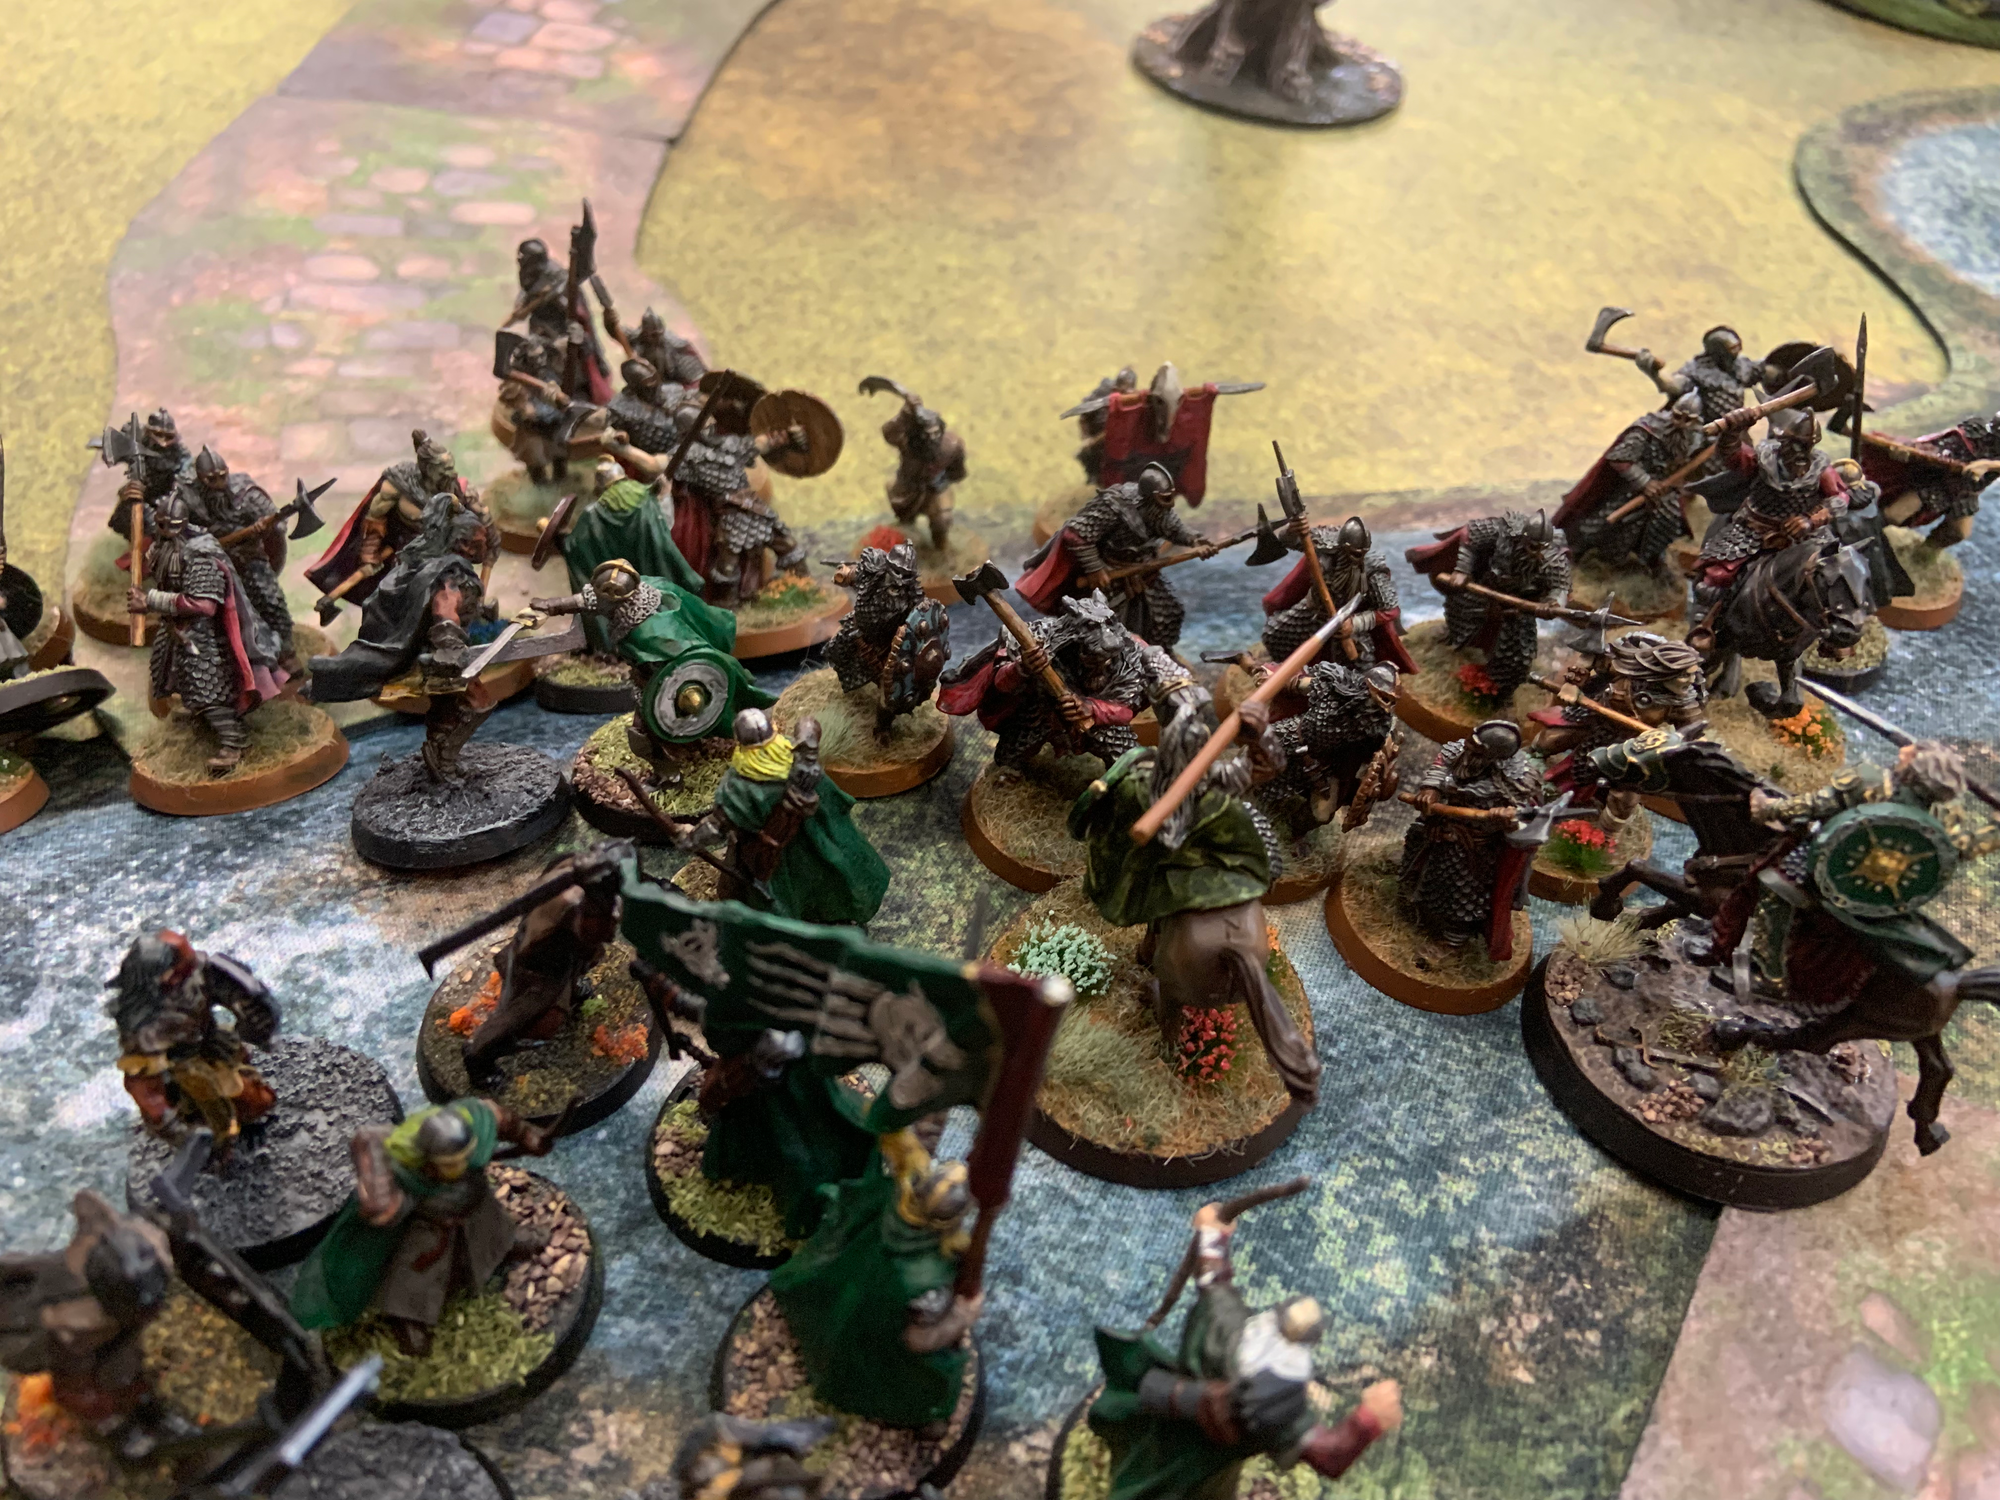
The heavyweight showdown at the center of the Ford lives up to it's reputation, as Grimbold and Thrydan both bring down their two-handed axes with enough might to tie the fight at 6. For the second time this turn, the roll-off goes to the forces of Evil, and the combination of Thrydan's two-handing and hatred of men sees him dish out 4 total wounds, only 2 of which Grimbold manages to prevent with Fate. Just like that, Rohan's leader is felled, but his sacrifice is not in vain - the banner still waves proudly at the center of the ford.
Things did not get better for the Rohan forces, as Helmingas along the front line fell at steady pace, and Sharku's Warg Riders continued to wear away at the eastern flank.
With his Leader gone, Elfhelm and his cavalry forces give up their screening of the western flank and swiftly move to converge on the Warg Riders steadily chewing into the force protecting the rear of the Ford. Mauhur's forces use this opportunity to continue to push around the tree in hopes of completing the envelopment of the Ford.
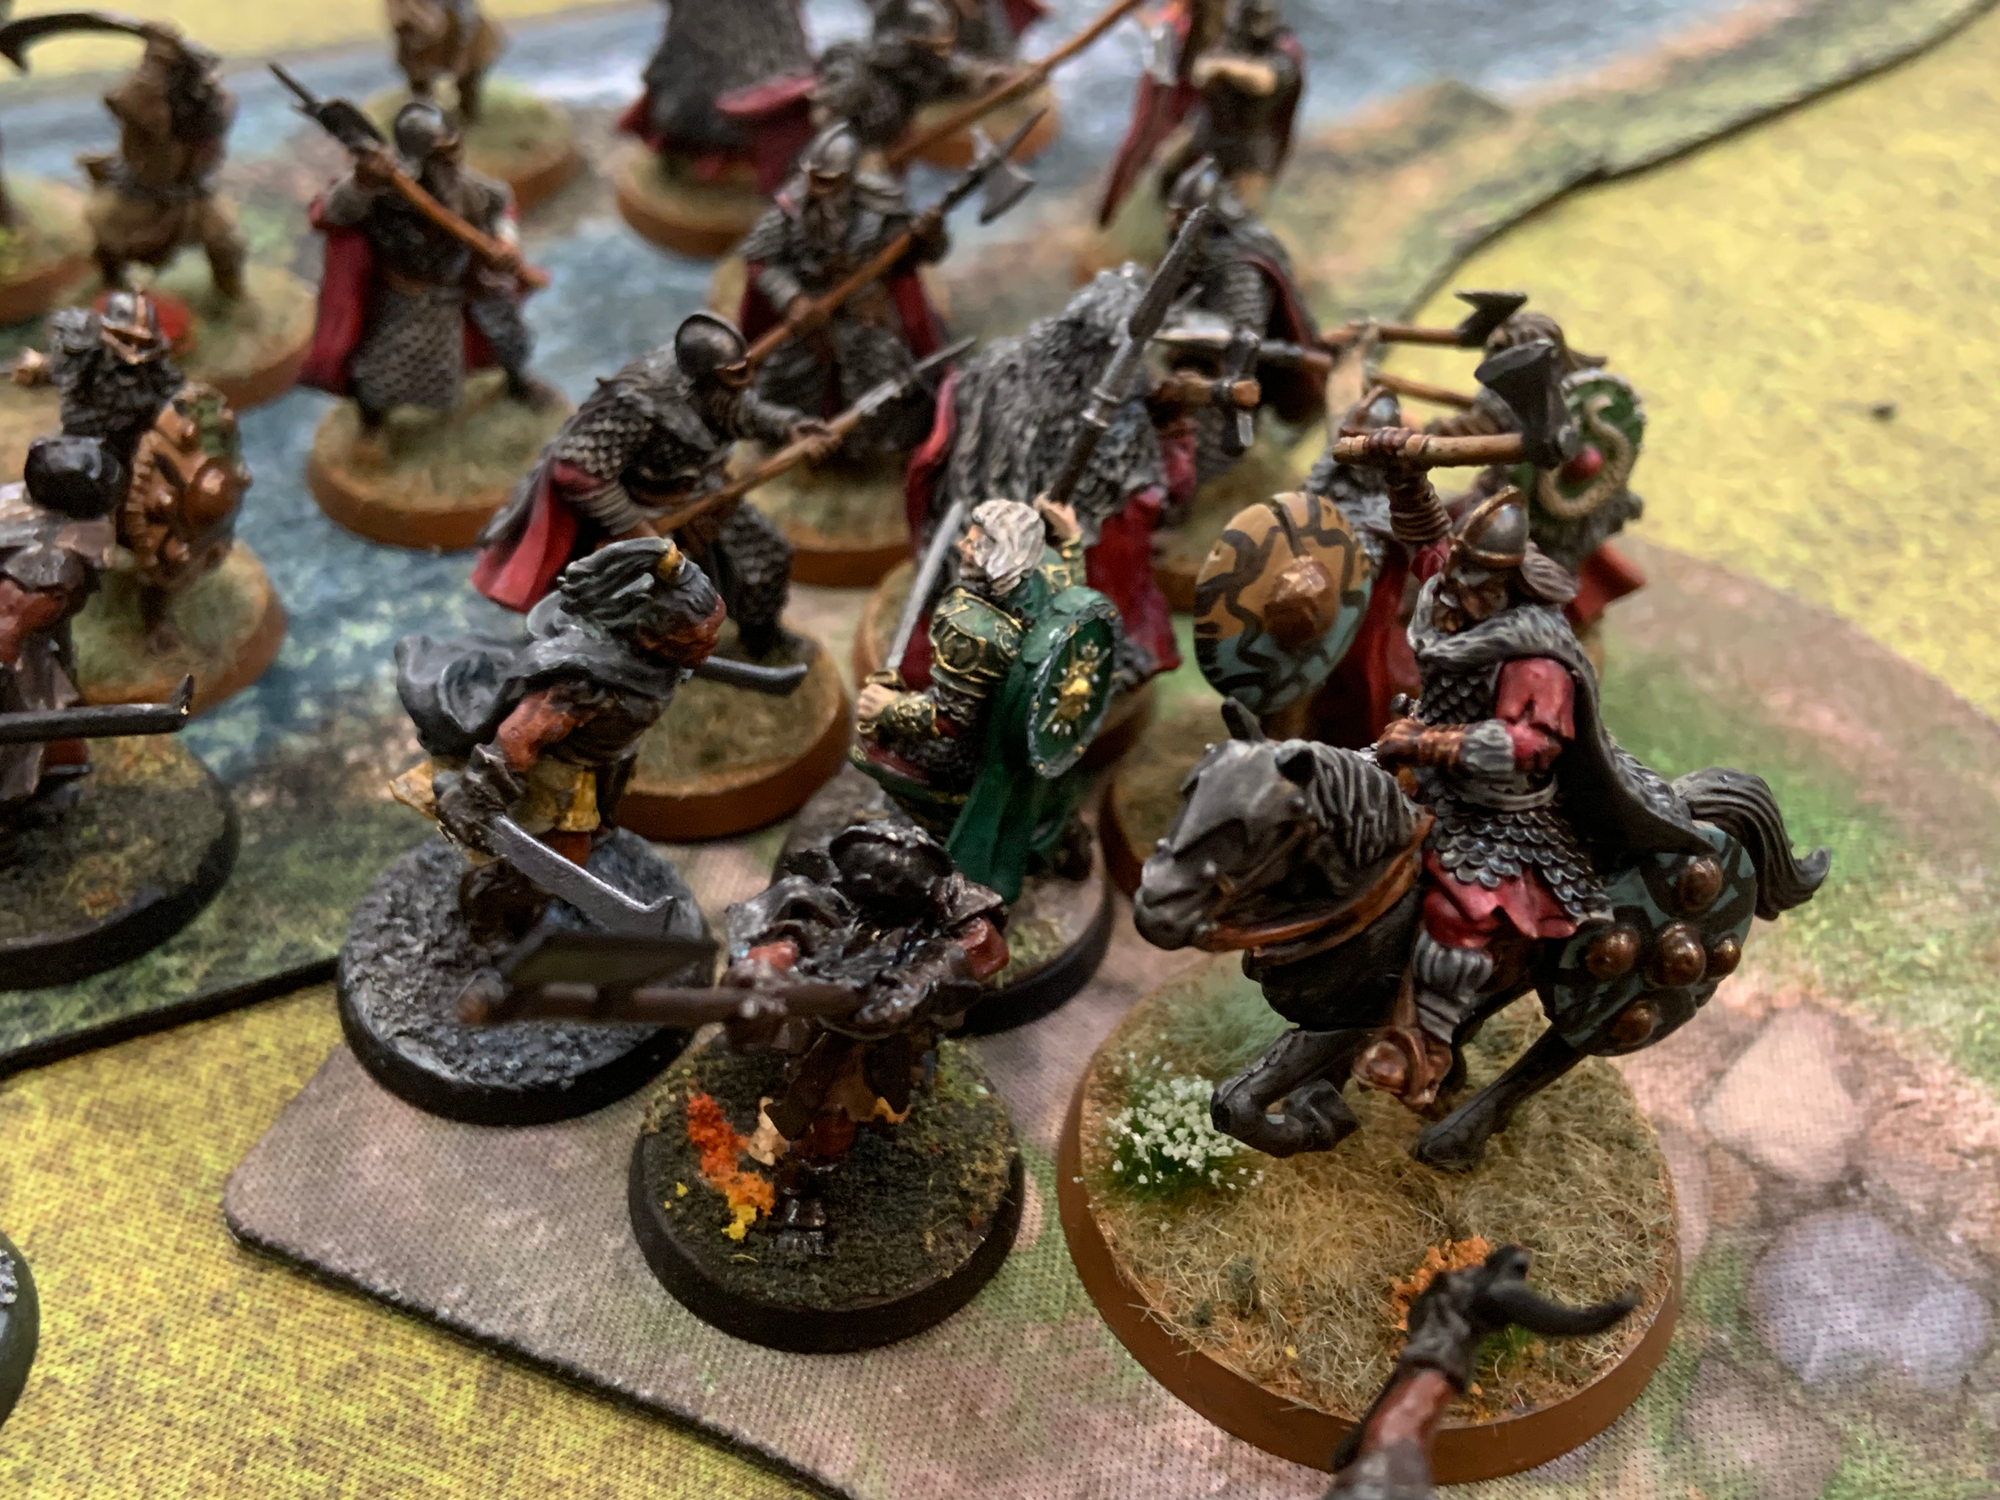
On the ford, Dunland quickly closes in on the disorganized Rohan lines, forcing the Helmingas into increasingly unfavorable battles. Desperate to protect the Banner, the Captain of Rohan turned to take on the fearsome Thrydan Wolfsbane.
The ensuing combats see Dunland crush the remnants of the Rohan line on the ford, but a skilled effort by the Captain of Rohan see him not only win the combat against Thrydan, but deliver a wound to the fierce chieftain. Crucially the Rohan banner remains, giving hope to the outnumbered defenders.

Uruk-hai screen around the woods | Warg Riders bear down on the King's Huntsman | Elfhelm attacks the Warg
The Rohan cavalry charge is now in full swing, as Elfhelm and his contingent manage to eliminate a few Warg Riders in route to clashing with the enemy cavalry.
On the ford, Dunland's line continues to press into the shattered Rohan center, coming to support Thrydan, who remains in combat with a might-less Captain.
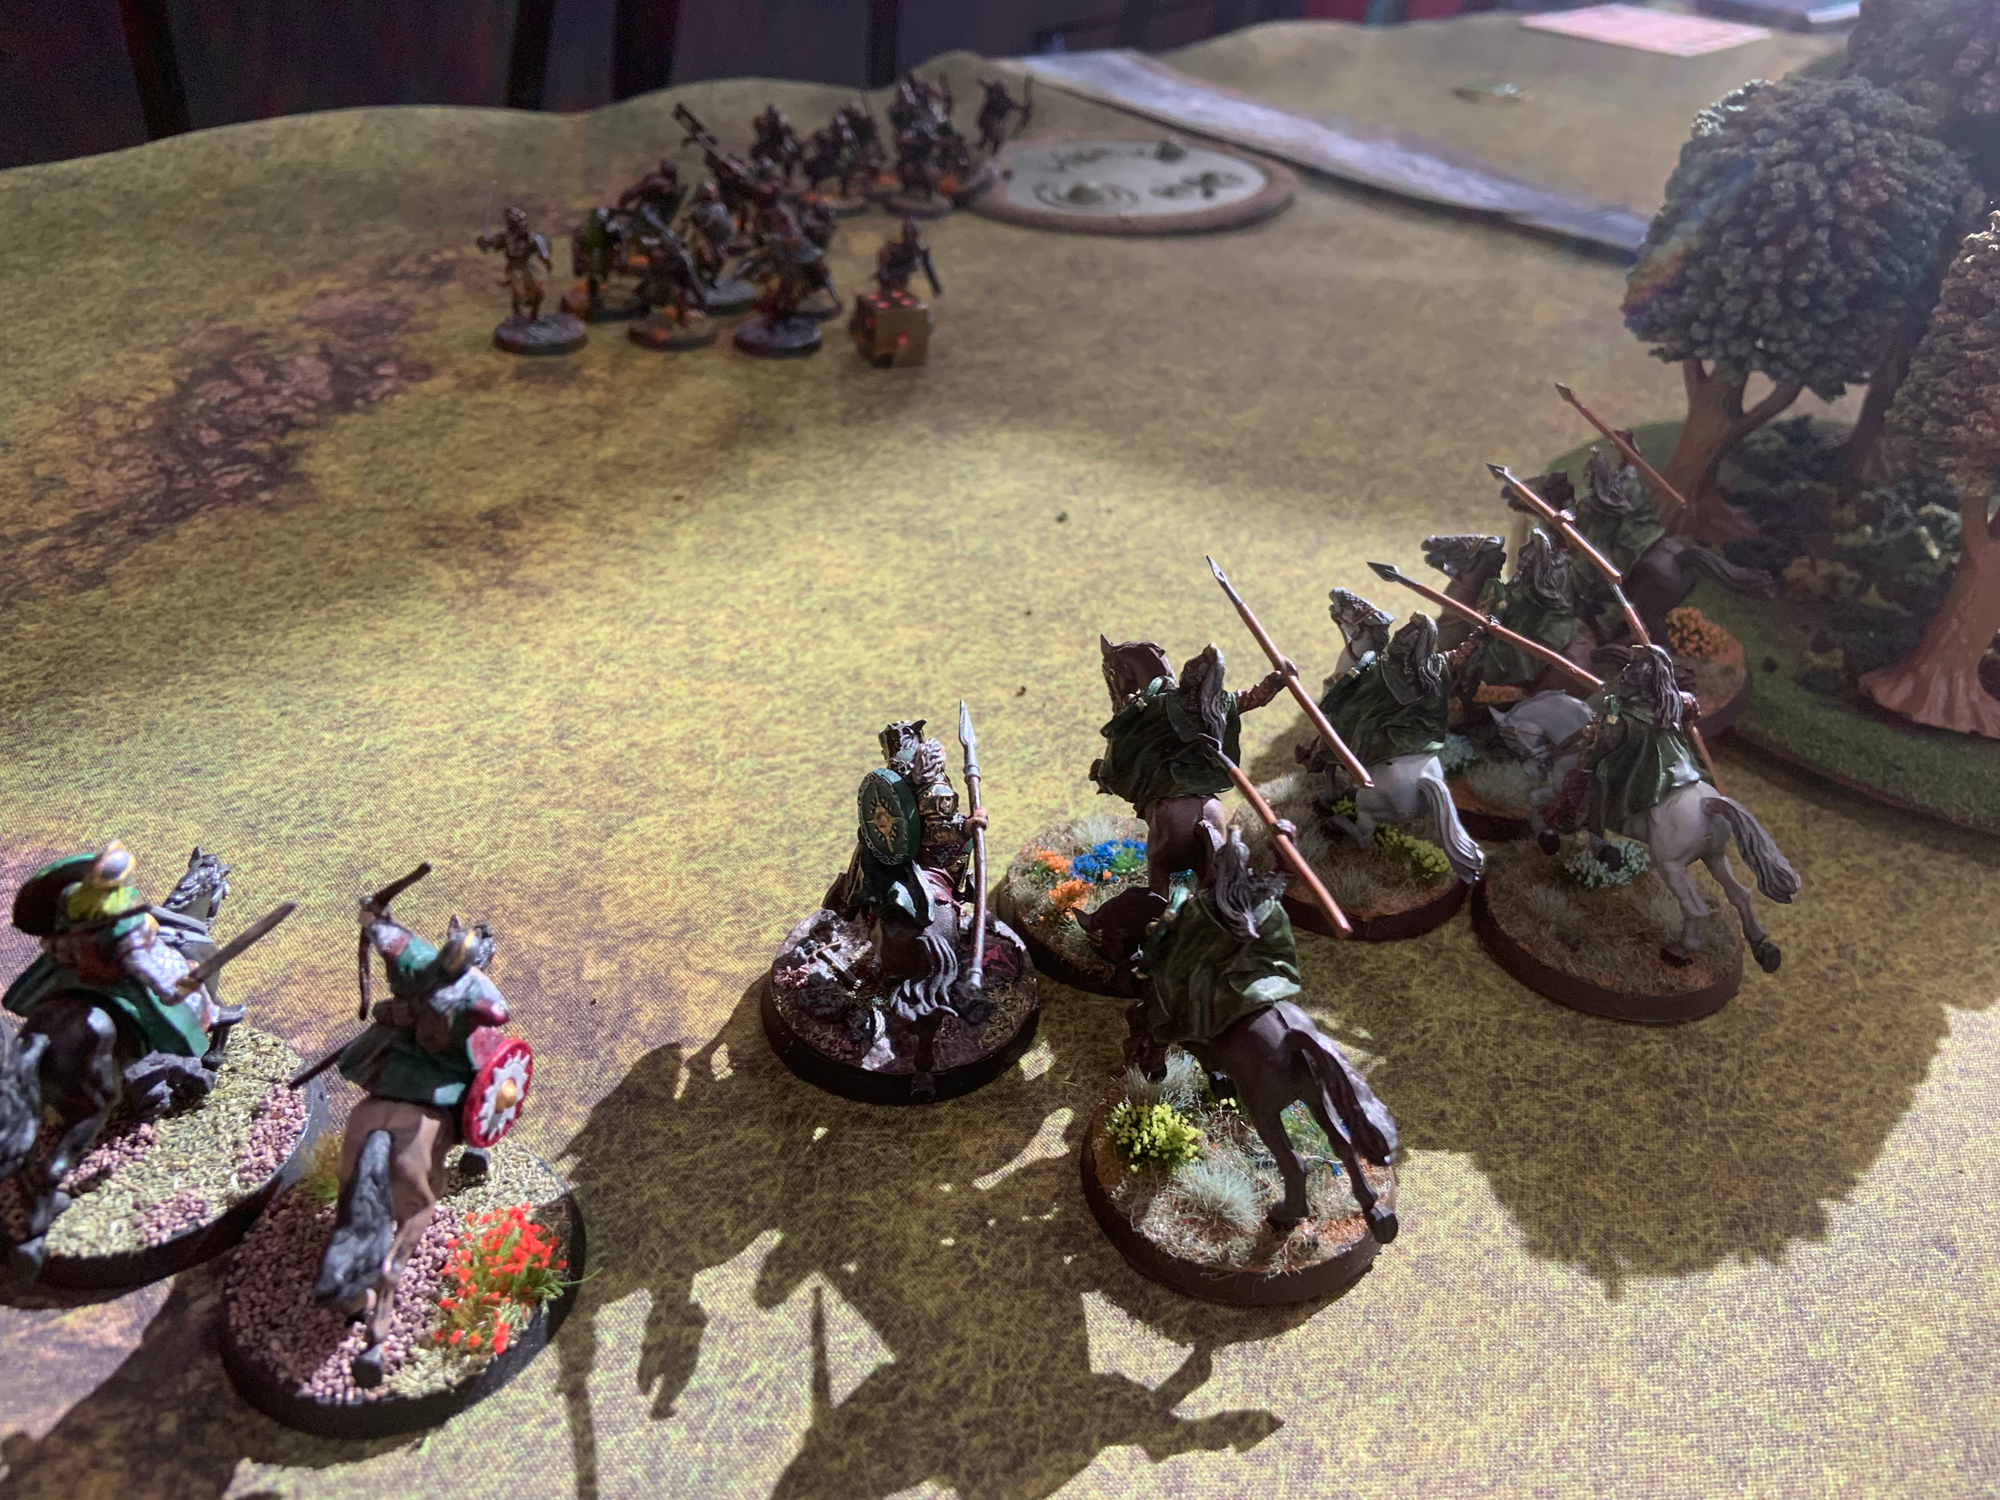
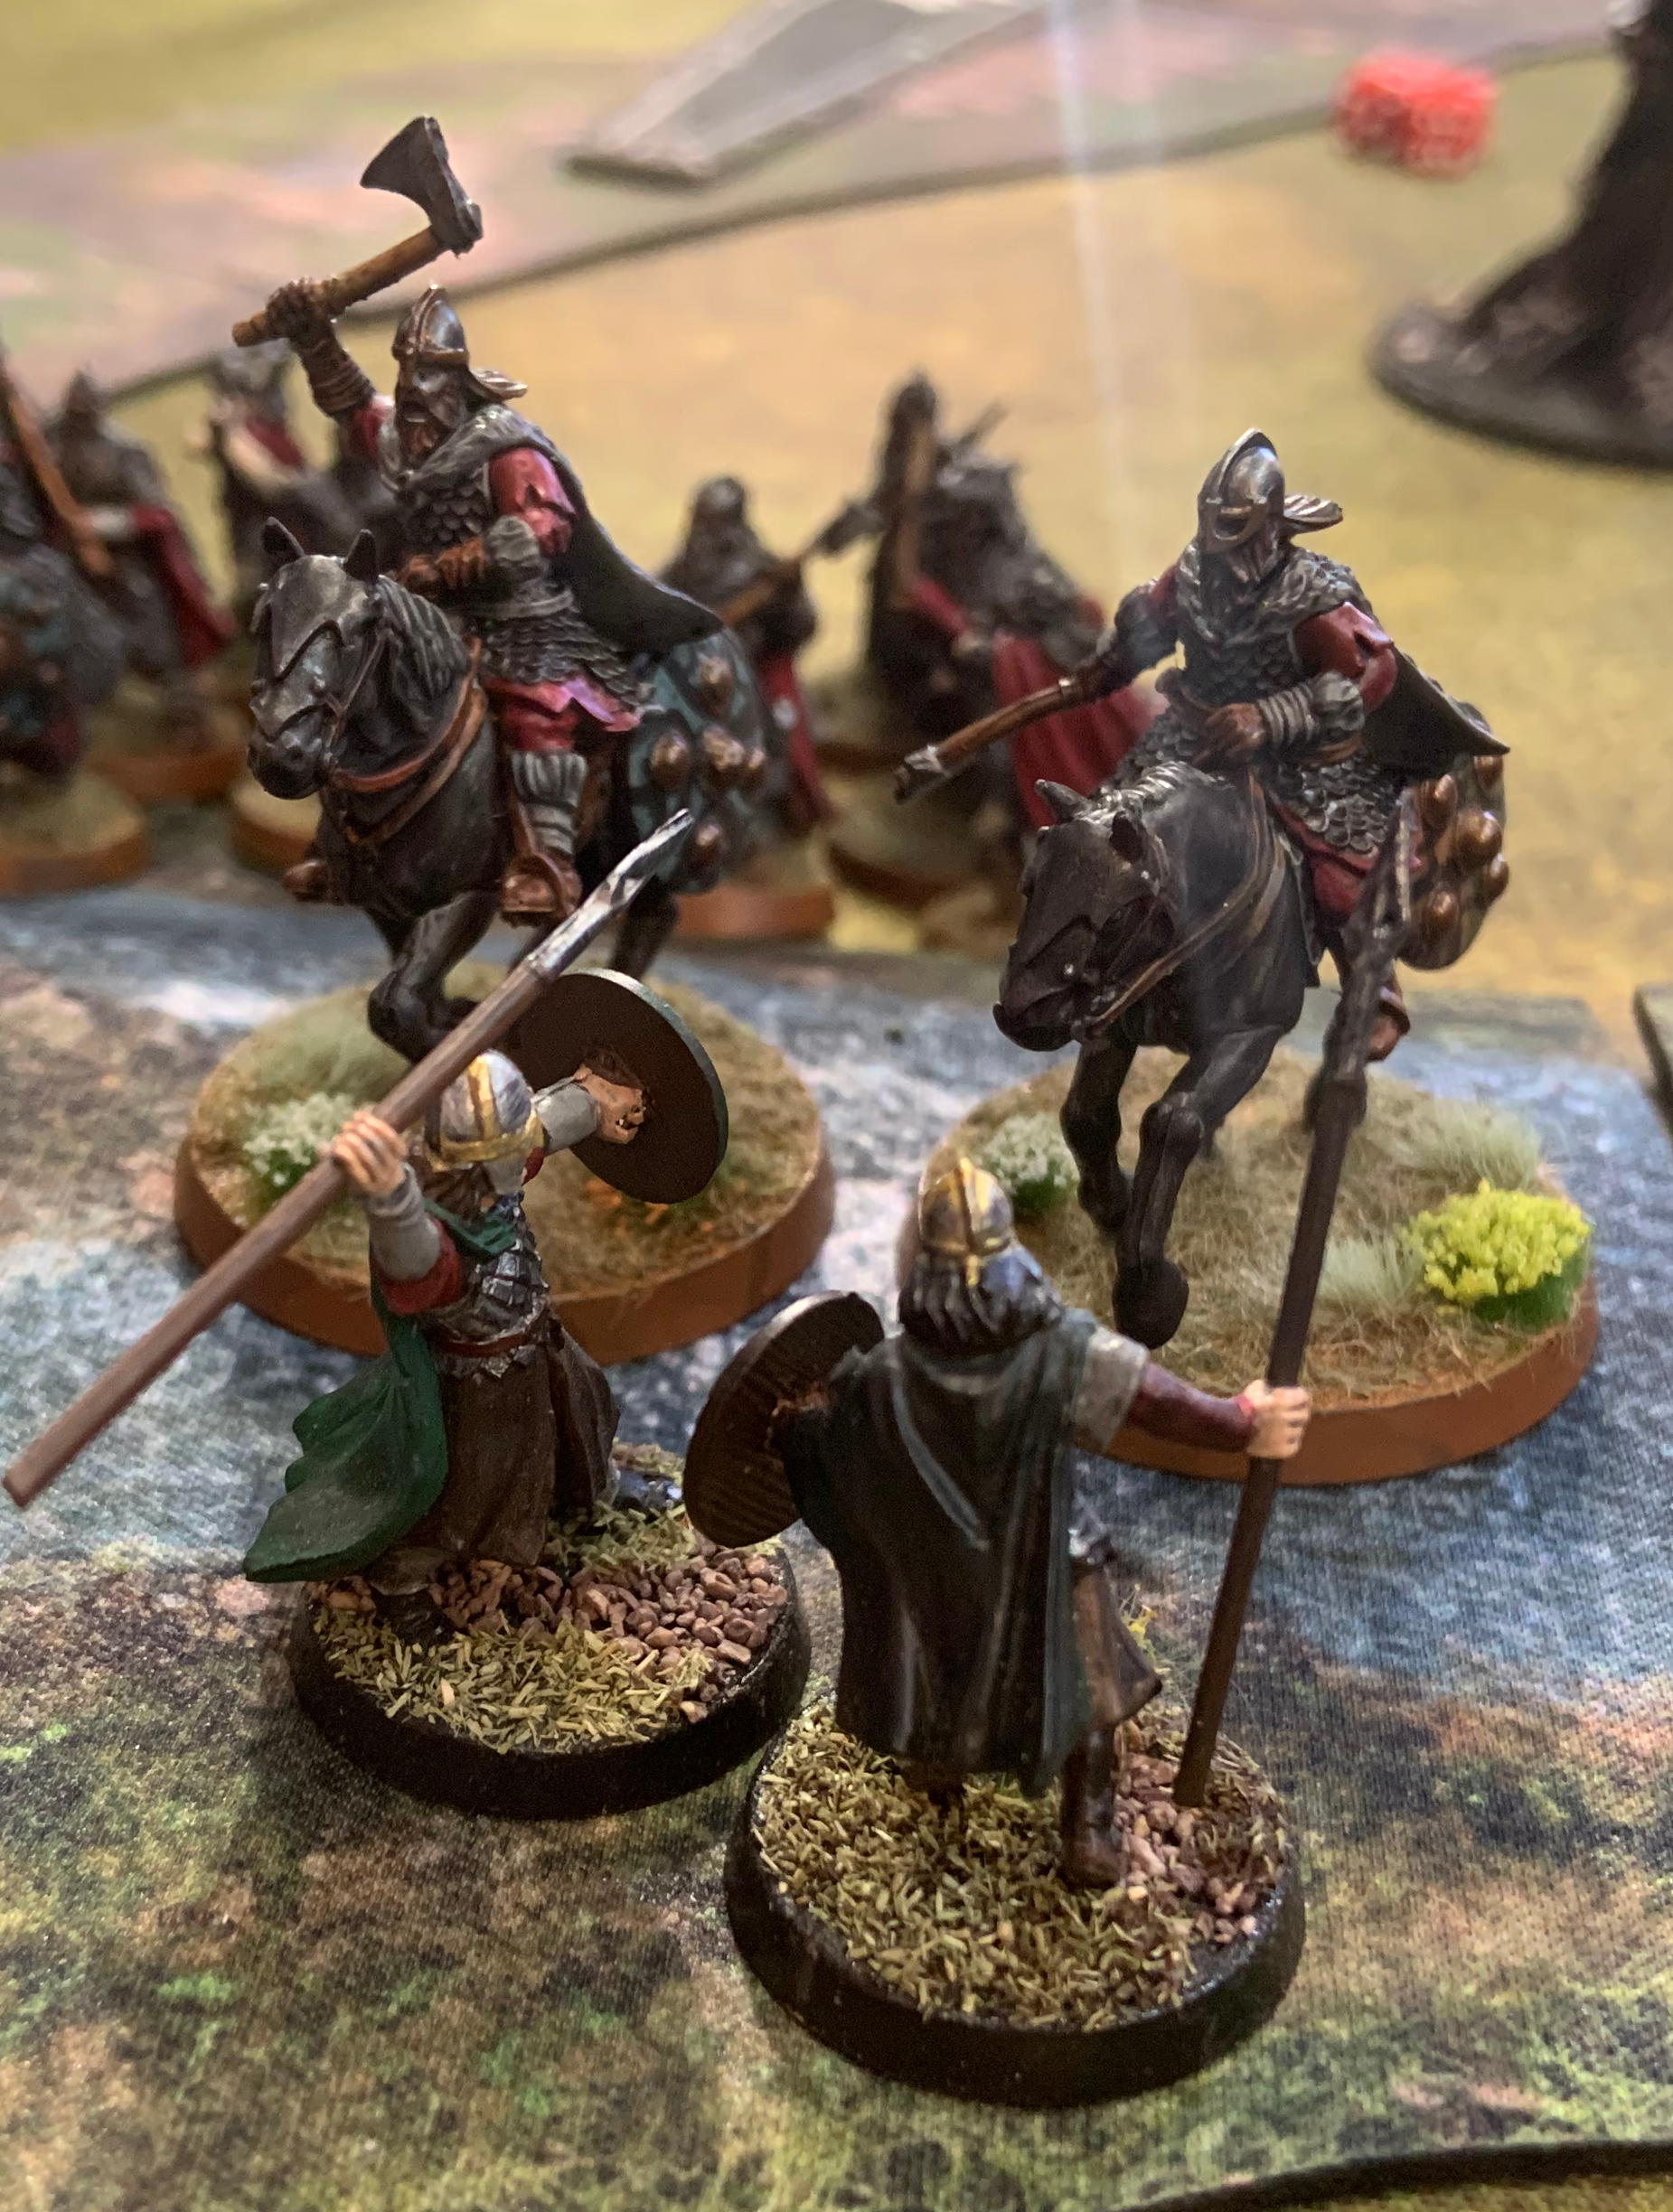
Rohan's cavalry attempt to inspire a miracle
The fights begin as Elfhelm, desperate to reach the ford, declares a Heroic Combat, allowing him and a Royal Guard to easily dispatch the rider-less Warg in front of them and slingshot into the battles at the center of the ford.
Rohan's momentum quickly sputters out, as Elhelm fails to win his second fight, and Thrydan manages to survive an unfavorable combat. The Wargs and Riders continue to trade blows, while the King's Huntsman and the few remaining foot warriors fall on the eastern flank.
Uruk-hai Scouts enter the fray from the west | Elfhelm's heroics are quickly countered by Dunland
The situation continues to unravel for the now broken Rohan forces, as they lose priority and with no might remaining, see their cavalry nullified by the now swarming Dunland forces. The Uruk-hai have finally arrived at the western edge of the ford, charging into the Rohan banner and bowmen still standing. Mauhur sets his sights on the exhausted Rohan Captain, looking to take down one of the few remaining threats.
South of the ford, the remaining cavalry and warriors are tied up with the fearsome Warg Riders, and 3 models flee for their lives.
With no charge advantage, and facing off against the fearsome Frida Tallspear, Elfhelm loses his horse and is forced to fate a wound to remain in the battle. The Rohan bowmen do what they can to hold out, while the banner stays aloft after some effective shielding.
Isengard & Dunland, fully in control of the ford, mop up the last of the Forgoil
With no cavalry and no leader, Rohan's forces are clinging to survival. Elfhelm manages to successfully shield in a battle against both enemy leaders and a Scout Captain, avoiding the inevitable for at least another turn. The remaining bowmen and banner don't get quite as lucky, finally falling in combat.
Now completely surrounded and banner-less, Elfhelm finally succumbs to the overwhelming strength of the enemy heroes bearing down on him. The last green cloak is wiped off the ford, leaving the forces of evil completely in control.
After Action Report
Final Result: Evil Victory
The Second Battle of the Fords of Isen (and the first battle of the campaign!) ends as an overwhelming Evil Victory, with the Rohan force completely tabled, the ford in Evil's control, and not a single Evil hero falling in battle. Having gained control of the ford in the campaign map, Evil has now has a clear path for their forces to drive deeper into Rohan territory.
The forces of Good will want to quickly put the loss behind them, and only time will tell what the true cost of the loss is. The Garrison of the Fords was always up against the odds it in this battle, and their tattered forces will now have to join up with a larger force to remain a factor in the larger battles to come.
Hero Attrition
Rohan's loss in this battle could have more far-reaching consequences than just the loss of the strategic chokepoint of the ford. With all of their heroes being slain in battle, each one permanently loses a point of Fate for future battles. If any are to fall in combat again, their role in this campaign will be over.
The forces of Evil have no such concern, as none of their heroes fell to the forces of Good, meaning their heroes remain as strong as ever.
Member discussion: